- Author Jason Gerald gerald@how-what-advice.com.
- Public 2023-12-16 10:50.
- Last modified 2025-01-23 12:04.
Steam is one of the most popular digital game distribution services in the world, and you can find almost every new game released for Windows, Mac, and Linux computers on it. Steam can be installed on any operating system, although the number of games available may be limited for Linux and Mac. There are more games available week by week! Steam has its own operating system, SteamOS, which allows you to turn your computer into a high-quality game console.
Step
Method 1 of 5: Windows
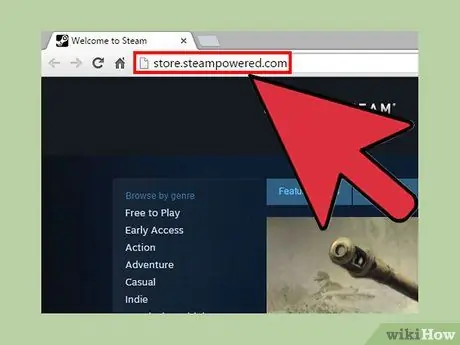
Step 1. Open the Steam website
You can download Steam from steampowered.com.
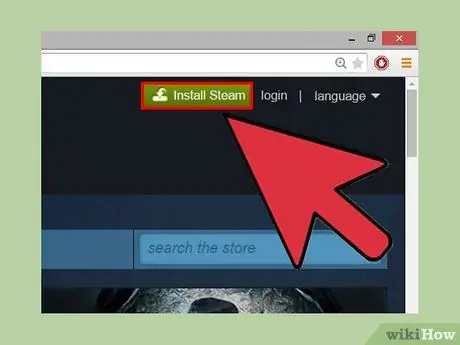
Step 2. Click "Install Steam"
It's a green button at the top of the Steam page.
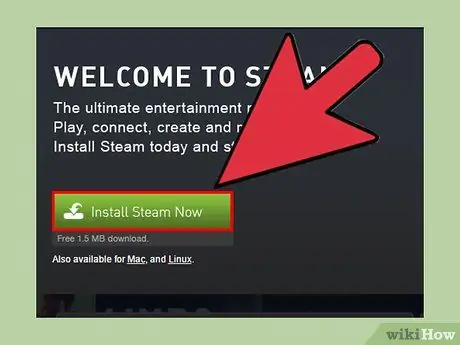
Step 3. Click "Install Steam Now"
Doing so will download the Steam installer program that has the EXE format.
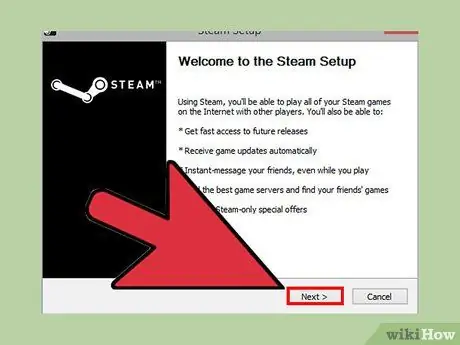
Step 4. Run the installer program and follow the given prompts
You must agree to the license agreement and provide confirmation that you are 13 years of age or older.
By default, Steam will be installed in the C:\Program Files\Steam directory. You can change the Steam installation directory if you want. You can also set Steam to have downloaded games saved in a different directory, which is useful if you want to save your games on a different disk partition. See Step 8 for more details
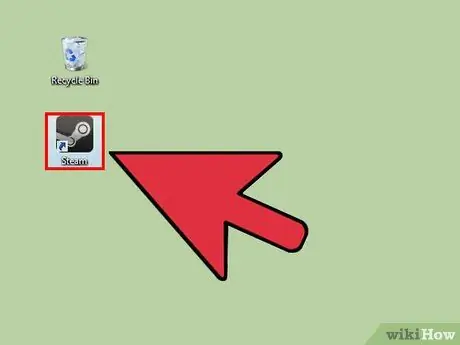
Step 5. Launch Steam and wait for the update to complete
After installing Steam, you will be prompted to start it. Steam needs to be updated when you first start it, and this process may take a few minutes.
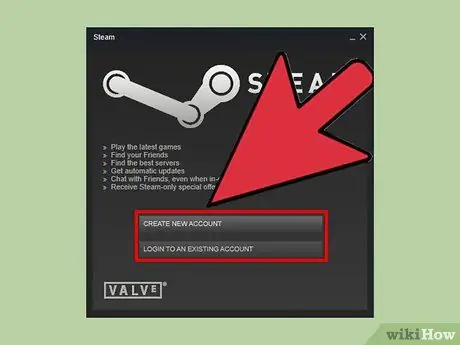
Step 6. Log in using your account or create a new account
If you already have an account, you can use it to sign in. If you don't have a Steam account, you can create one for free.
- Follow the prompts given to create a new account. You will need to select a username and password, and also enter a valid email address. You will need to confirm via the email address entered after you created your account by following the verification link sent to you. If the username you want is already in use by someone else, several other options will be displayed for you or you can also try to create a new username.
- If you already have an account, there is a high chance that SteamGuard will verify your identity. This verification is done to prevent unauthorized access to your account.

Step 7. Use the tabs at the top of the Steam window to navigate
When you launch Steam for the first time, you will be taken to the Store page. You can move to another section by clicking the tabs along the top of the window. Hover over a tab to select various other subpages.
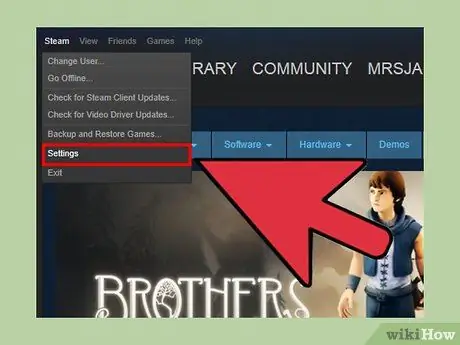
Step 8. Select a new game save location (optional)
By default, games will be installed in the same directory as the Steam directory. You can change this if you want to save the game elsewhere, such as a second hard disk.
- Click the "Steam" menu, then select "Settings".
- Select the "Downloads" tab in the Settings menu, then click "Steam Library Folders".
- Click "Add Library Folder", then select the directory you want to save the installed games to.
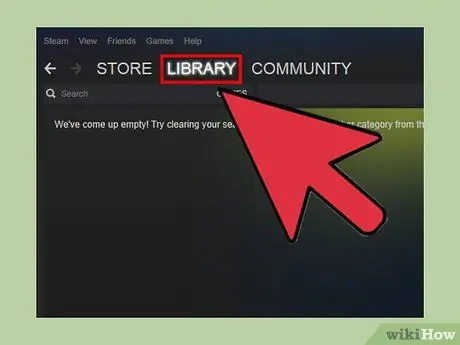
Step 9. Go to the Library tab to see the games you have purchased
In the list of games on the left, deleted games are grayed out, while installed games are white. By selecting a game, the game's information page will be displayed, where you can see achievements, DLC (downloadable content), news about updates, and many other things.
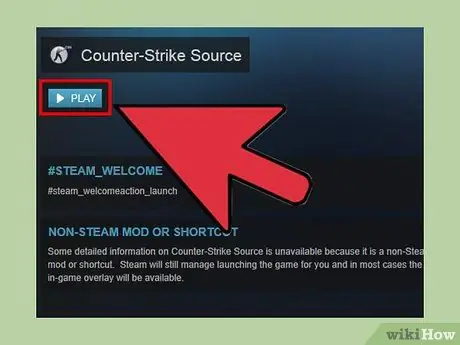
Step 10. Double click on the deleted game to start reinstalling it
You can use the drop-down menu in the installation window to select the directory where you want to save the installed game. You will also be given the option to create shortcuts on the desktop and Start menu to jump straight into the game.
- Depending on the size of the game and the internet connection used, the download and installation process may take a matter of minutes or even a few days.
- You can monitor ongoing downloads by hovering over the Library tab and selecting "Downloads".
Method 2 of 5: Mac
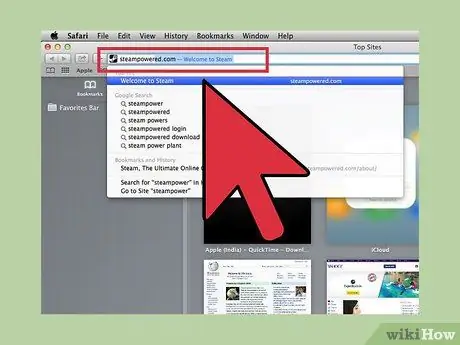
Step 1. Visit the Steam website
You can access it via steampowered.com.
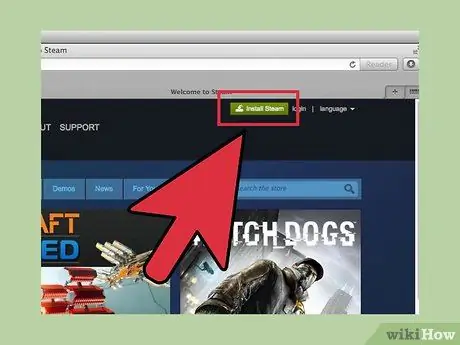
Step 2. Click the "Install Steam" button in the upper right corner

Step 3. Click "Install Steam Now" to download the Steam installer program
If the Mac download of Steam doesn't work, click the "Mac" link under the "Install Steam Now" button.
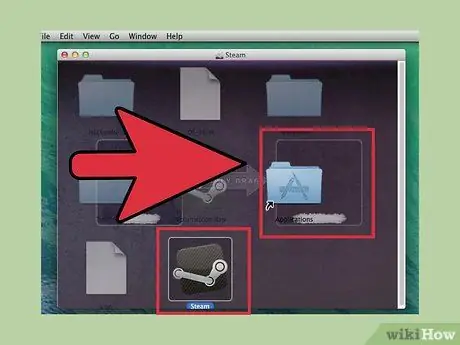
Step 4. Double-click on the downloaded installer program, then make sure that you agree to the terms proposed by Steam
Drag the Steam icon into the Applications directory. This way, the Steam client will be installed on your computer.
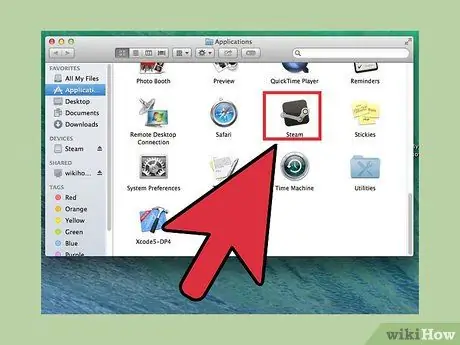
Step 5. Double click on the Steam icon inside the Applications directory
Click Open to confirm that you want to run the program.
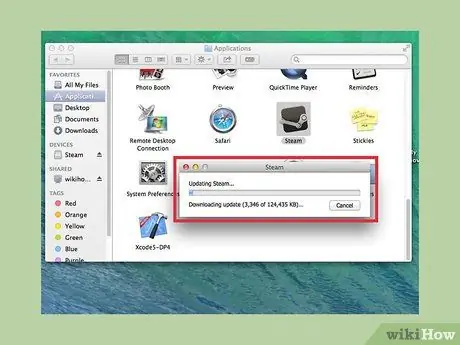
Step 6. Wait for Steam to finish updating
When you run Steam for the first time, Steam will need to download an update file. This process may take a few minutes. Usually Steam will install updates when you start it.
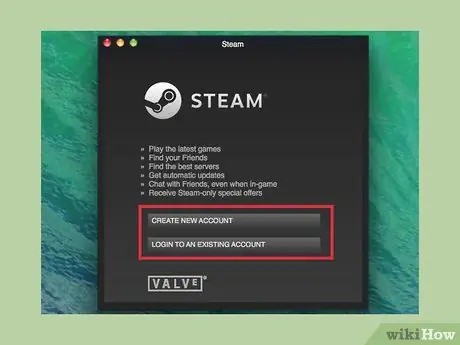
Step 7. Log in using your Steam account or create a new Steam account
If you've selected a Steam account, you can use it to log in when Steam has finished updating. If you don't have an account, you can create a new one by following the instructions given for account creation.
- When creating a new account, you need to choose a username. If the username is already in use, you will be given several other options, or you can also choose a different name. You will also need a valid email account to confirm the account. The email address will be used later if you want to restore your password or verify SteamGuard.
- If you already have an account, there's a good chance you'll be asked to enter a SteamGuard verification code. You will receive a verification code via email address. This process aims to prevent unauthorized access to your account.
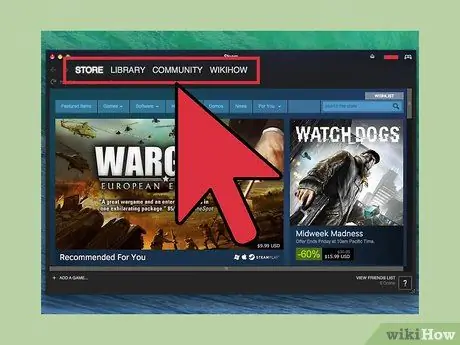
Step 8. Use the tabs at the top of the Steam window to navigate
Depending on your account settings, you may be taken to the Store or Library page when Steam starts. You can click the tabs along the top of the window to move from one section to another. Hover over the tabs to see the various subpages for each section.
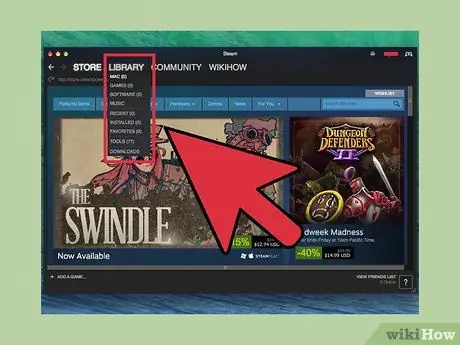
Step 9. Go to the Library tab to see the games you have purchased
Deleted games are grayed out, while installed games are shown in white text.
Be aware that not all Steam games can be run on a Mac. If you've purchased a lot of games on Steam before, there's a good chance you won't see them all in the Library window. When purchasing a game, make sure that it has the Apple logo and the "Mac OS X" section in the "System Requirements" table displayed on the Store page
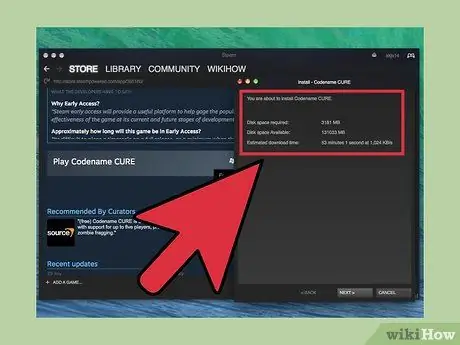
Step 10. Double click on the deleted game to start the installation process
You will be given information about the size of the game on your hard disk, and you will be given the option to create a shortcut.
Note: the estimated time shown is almost always inaccurate. Usually you will finish downloading in less time than it shows
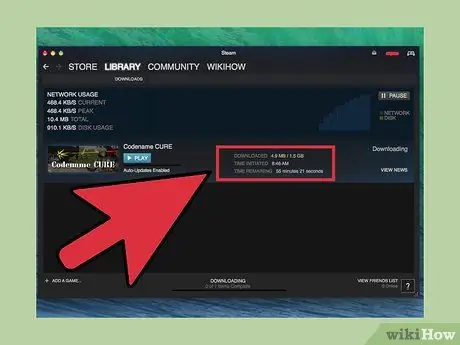
Step 11. Wait for the game download to finish
Depending on the size of the game and the speed of your internet connection, the download may take minutes or even hours to complete. You can monitor the progress of the download process in the game list. You can close Steam in the middle of a download and resume it at the point where you last stopped the download.
Method 3 of 5: Ubuntu
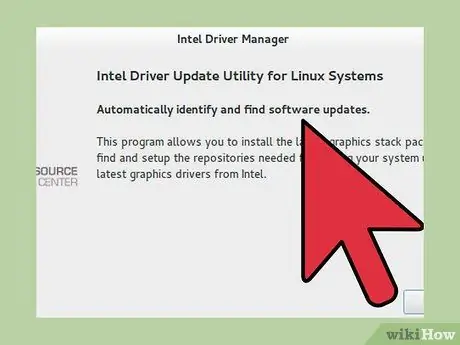
Step 1. Update the graphics card driver
While some games can be run without needing to update the graphics card driver, most newer games won't run smoothly or won't even start at all before you update the driver to the latest version. The process for updating drivers varies depending on whether you are using an Nvidia or AMD/ATI graphics card.
Nvidia - Go to Software Sources, then click the "Additional Drivers" tab. Select the latest version of the "experimental" driver, then click "Apply Changes"
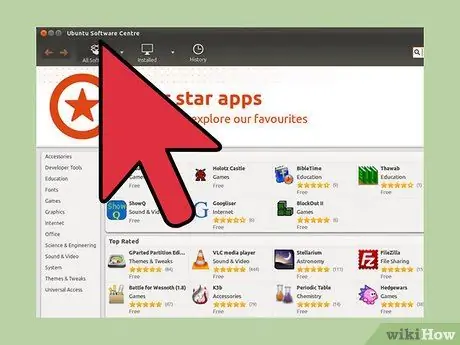
Step 2. Open the Ubuntu Software Center
Within Ubuntu, you can download Steam directly through the Ubuntu Software Center.

Step 3. Do a search with the keyword "steam", then click "Install" on the Steam entry
This way, the Steam installer package will be downloaded to your computer.
You may be asked to install the Beta program. If this is the case, click "Start Steam Beta"

Step 4. Log in using your Steam account or create a new account
If you already have a Steam account, you can use it to sign in. Usually you will be asked to enter a SteamGuard verification code to confirm your identity. If you don't have a Steam account, you can follow the prompts to create a new account.
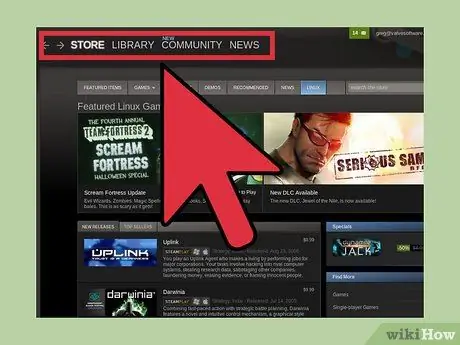
Step 5. Use the tabs at the top of the window to move between sections
Usually Steam will display a Store or Library window when it starts. You can click the tabs to move between sections, or you can hover over the tabs to see the subpages that belong to each section.
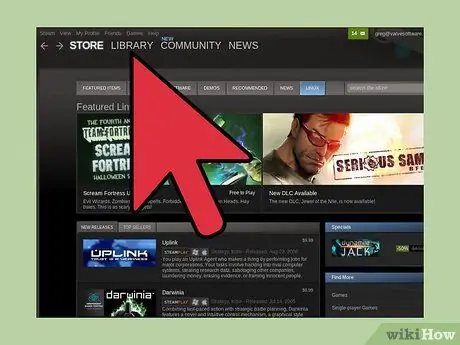
Step 6. Take a look at your Linux game in the Library tab
When you open the Library tab, you'll see a list of games you've purchased and can run on Linux. Since not all games can run on Linux, you should see a list of games with less content than usual if your library is filled with lots of games.
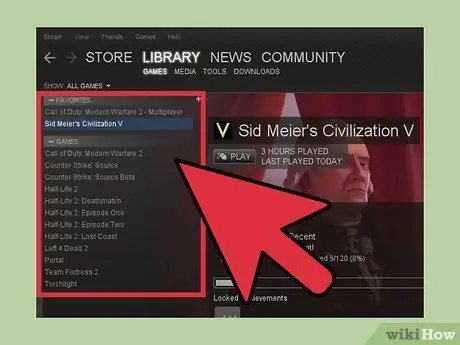
Step 7. Double click on the game to start installing it
Information regarding the size of the game will be shown, and you will be given the option to create a shortcut. Download times vary widely, depending on the size of the game and the speed of your internet connection.
Method 4 of 5: Mint
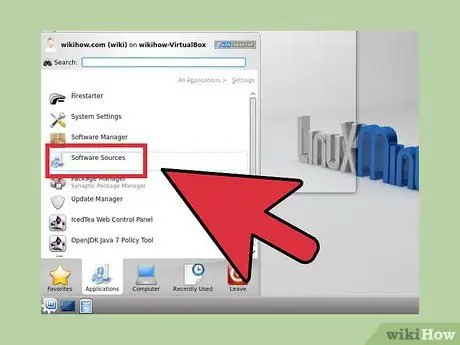
Step 1. Open Software Sources
Steam is not included in the Mint repository, so you will need to add it manually before installing it. You can install Steam from the Steam website without doing this, but you will have to manually update it every time an update is released (which happens very often).
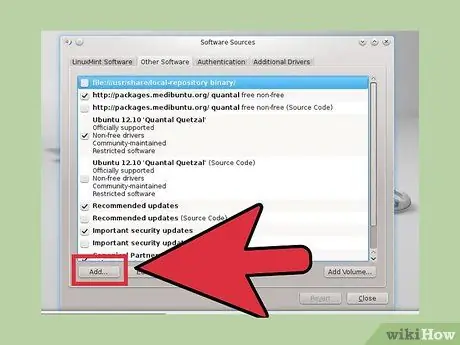
Step 2. Select "Additional repositories", then click "Add"
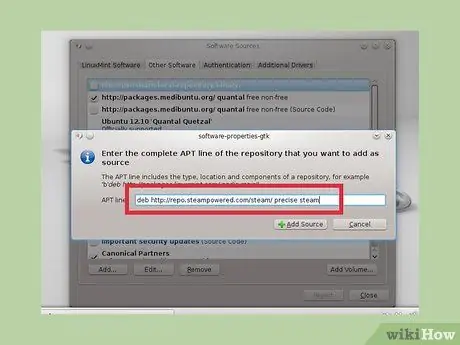
Step 3. Paste (paste)
deb https://repo.steampowered.com/steam/ precise steam into the search bar.
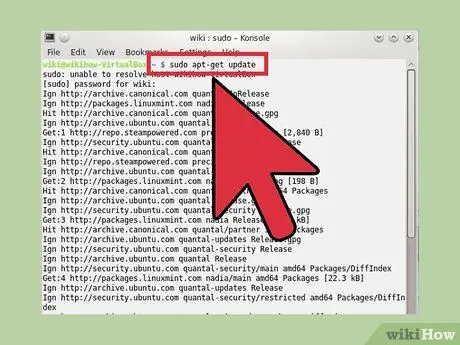
Step 4. Open Terminal, then type
sudo apt-get update.
Your repository will be updated.
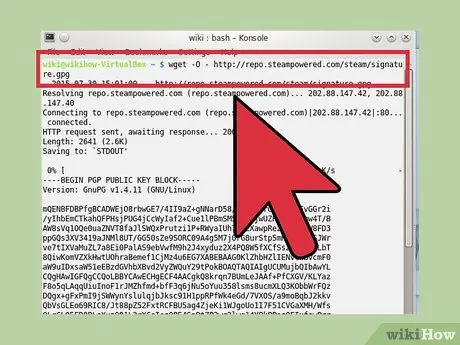
Step 5. Type
wget -O-https://repo.steampowered.com/steam/signature.gpg.
Press Enter to run the command. This way, the signed key will be downloaded from within the repository, so you can install programs from within it.
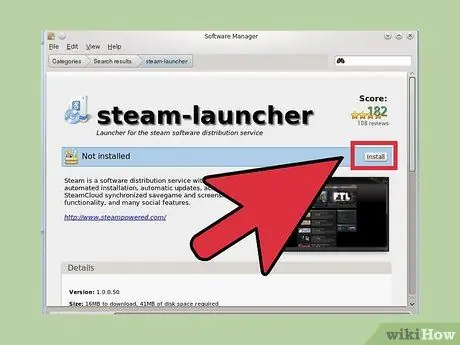
Step 6. Open the Software Center, then follow the instructions given in the Steam for Ubuntu installation process
The rest of the steps are exactly the same as in Ubuntu. Click here to follow Steam installation instructions and download some games.
Method 5 of 5: SteamOS
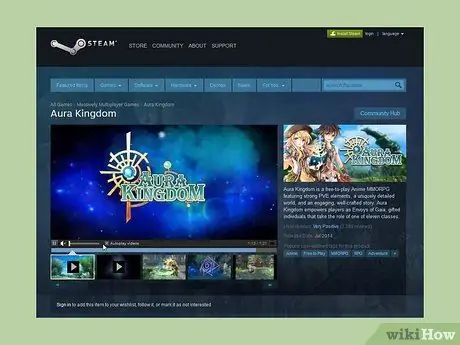
Step 1. Understand what will happen if you install SteamOS > SteamOS is a Linux based operating system designed for living room TV sets
By installing SteamOS, all data on the computer will be deleted, and SteamOS does not allow dual-booting or dual partitioning. Make sure that you don't need any data on your computer before you decide to install SteamOS.
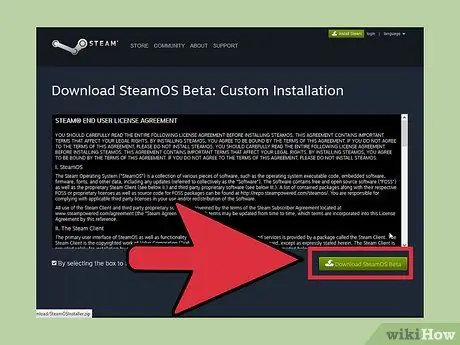
Step 2. Download the SteamOS installer program
You can download it from here The installer file is 1 GB in size, so the download process might take some time.
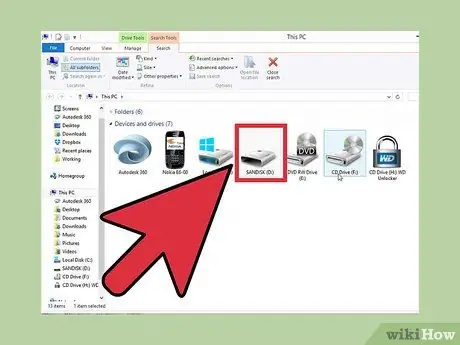
Step 3. Plug in a USB disc with a storage capacity of 4 GB or more
Make sure that the disc does not contain any important files as all of its contents will be erased.
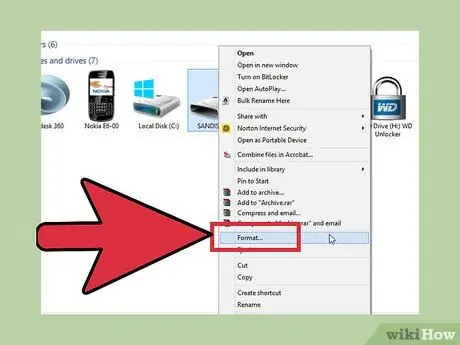
Step 4. Right-click on the USB disc, then select "Format"
You will need to format the USB disc so that the recovery image file can be loaded from it. Select "FAT32" as the file system used. Click Start, then wait for the USB disc to finish going through the formatting process.
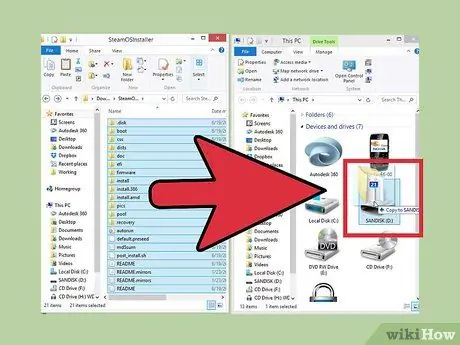
Step 5. Double-click on the downloaded ZIP file to open it
Click and drag all the contents of the ZIP onto the USB disc.
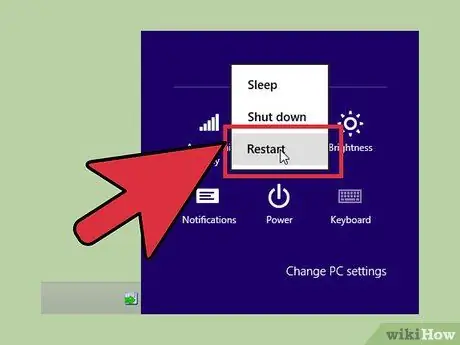
Step 6. Restart the computer and open the BIOS menu
You need to press the BIOS key when the motherboard company logo is displayed. Here are some of the keys commonly used as BIOS keys: F2, F10, F11, or Del.
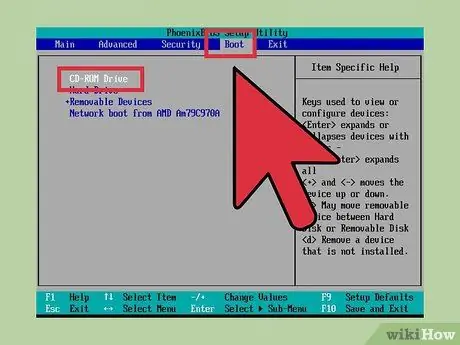
Step 7. Open the BOOT menu in the BIOS
Select the UEFI option as the primary boot device. This way, you can start your computer with the SteamOS recovery image file on the USB disc.
If you can't find the UEFI option, you may need to enable UEFI for the motherboard first. If you can't do that, you'll need to download the ISO file and burn it to a CD/DVD. After that, you can start the boot process via the CD/DVD to start installing SteamOS. You can download the ISO file from repo.steampowered.com/download/
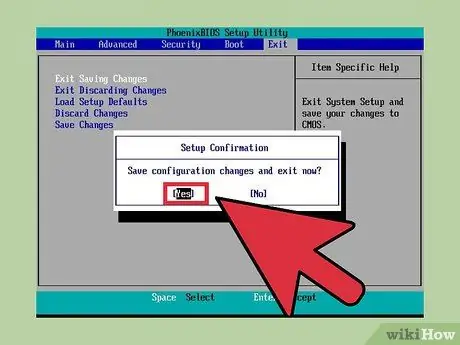
Step 8. Save the changes made and restart the computer
You will see the SteamOS boot menu if the Boot settings are correct.
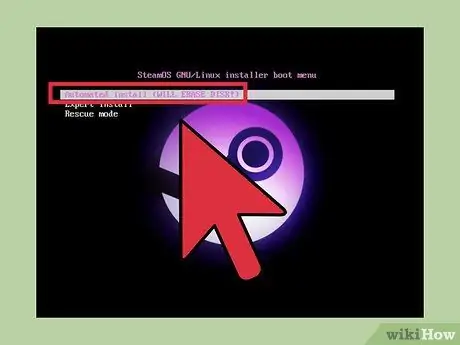
Step 9. Select "Automated Install", then press
Enter.
The rest of the installation process can be done automatically without your intervention anymore. You can stare at the screen to monitor the progress of the installation process. The computer will restart when the installation process is complete, and after a while the SteamOS desktop will appear.
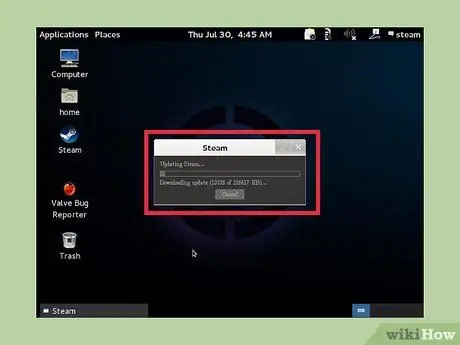
Step 10. Wait for Steam to finish installing
Once the computer boots up and displays the desktop, the Steam client will automatically download the update so that Steam can be installed.
In the process of setting up Steam, you will see a Terminal wall display with information on the files currently installed and organized in it
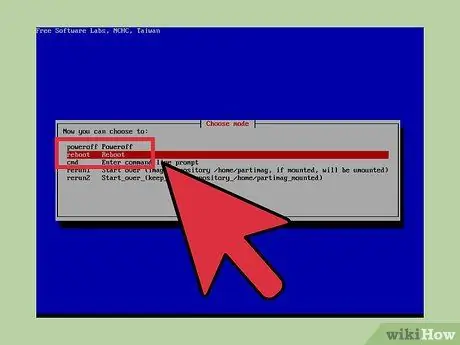
Step 11. Select "reboot" after the process done by Partclone is complete
A program called Partclone will run automatically at the final stage of the installation to back up your system. Once done, you will be asked to select an option from the menu provided. Select "reboot" to restart the computer.
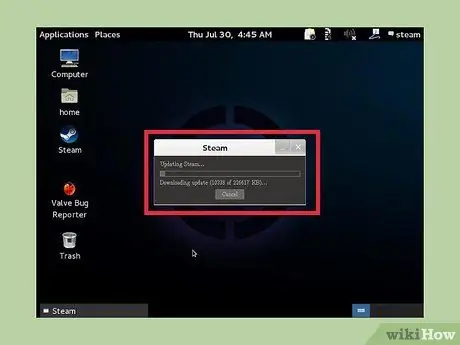
Step 12. Start using SteamOS
After restarting, SteamOS will load your hardware drivers, which may take some time. This process will only occur when you start SteamOS for the first time. Once that's done, you'll be moved into the SteamOS setup process, where you can select your language, set your display, set your time zone, and review the license agreement.
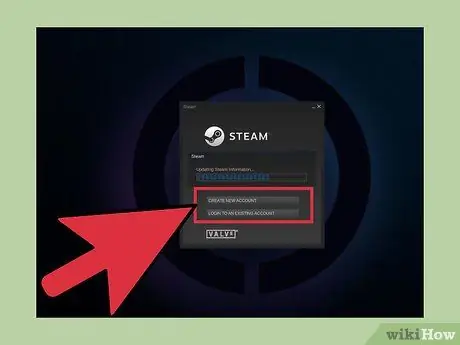
Step 13. Log in or create an account
Once setup is complete, you can log in using your Steam account or create a new account. If you don't have a Steam account yet, follow the prompts to create one in minutes. If you already have an account, there's a good chance you'll be asked to enter a SteamGuard verification code, which will be sent to your Steam email address.
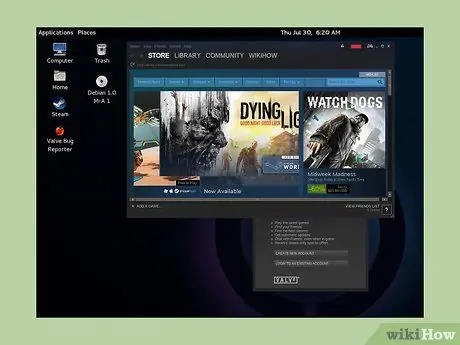
Step 14. Use the game controller or mouse to move
SteamOS comes pre-installed with features that support game controllers, and the interface is designed to match use with game controllers. The tabs at the top allow you to move between the Library and Store pages. SteamOS is a Linux operating system, and only games that run on Linux can be played on it.


