- Author Jason Gerald [email protected].
- Public 2023-12-16 10:50.
- Last modified 2025-01-23 12:04.
Planet Earth has an internal structure consisting of 5 layers: the Earth's crust, upper mantle, lower mantle, a liquid outer core, and a solid inner core. The crust is the thinnest outermost layer of the earth and it is in this layer that the continents are located. The next layer is the mantle / mantle of the earth which is the thickest layer and is divided into 2 parts. The core also consists of 2 layers, a liquid outer core and a solid, spherical inner core. If you want to model the layers of the earth, the easiest and most common way is to use polymer clay/flour dough for the 3D model and use colored paper for the 2D model.
Step
Method 1 of 3: Modeling with Flour Dough
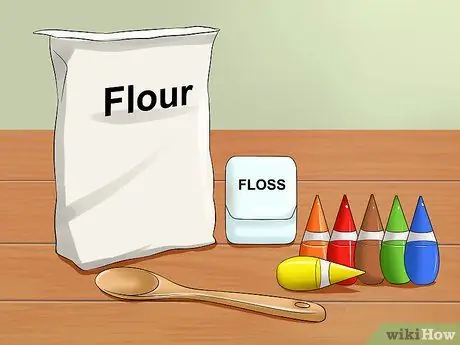
Step 1. Prepare the materials needed
To make a 3D model, you'll need to buy polymer clay or make your own flour dough. Regardless of which one you choose, you will need 7 colors; 2 shades of yellow, orange, red, brown, green and blue. You need parental guidance if you want to make your own dough. Here are the materials needed:
- 2 cups wheat flour
- 1 cup coarse salt
- 4 tsp. cream of tartar
- 2 tbsp. vegetable oil
- 2 cups of water
- Pot
- Wooden spoon/spatula
- Food coloring: yellow, orange, red, brown, green and blue
- Dental floss or thin floss
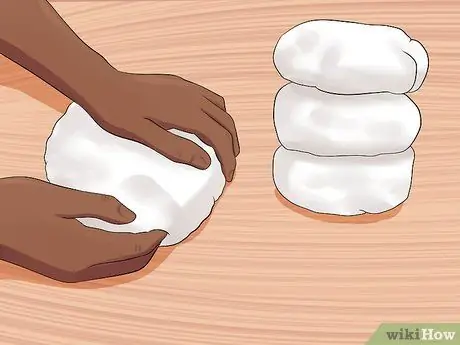
Step 2. Make the dough
If you already have polymer clay or flour dough, there's no need to do this step. Mix all ingredients (flour, salt, cream of tartar, oil, and water) until there are no more lumps. Put the mixture in a saucepan and heat it over low heat. Don't forget to keep stirring it. The dough will thicken when heated. After the dough starts to knead, turn off the heat and let the dough cool.
- Once the dough has cooled or has reached room temperature, knead for 1-2 minutes.
- This step requires parental supervision.
- If you see salt crystals in the dough, that's normal.
Step 3. Divide the dough into 7 balls of different sizes, then add coloring
Start by making 2 small balls the size of golf balls, then make 2 medium balls, and 3 large balls. Add food coloring to each ball according to the list below. Knead the dough until the colors are evenly mixed.
- A ball of dough the size of a golf ball: 1 green, 1 red.
- Medium sized balls of dough: 1 orange, 1 brown.
- Large dough balls: 2 yellow, 1 blue.
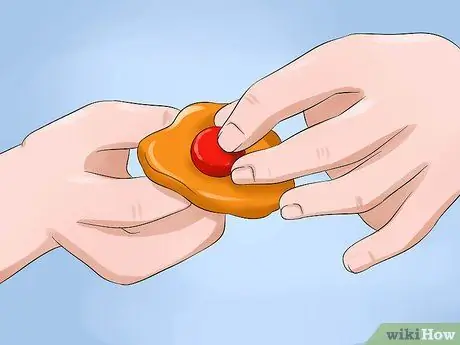
Step 4. Wrap the red dough with the orange dough
You will create layers of the Earth from the deepest part. The red ball represents the inner core. The orange dough will be the outer core. Gently press the orange ball down so that you can coat the red ball until it is completely covered.
Try to keep the ball as round as possible so that it resembles the shape of the earth
Step 5. Wrap the orange ball with a layer of yellow dough
Next, you will add a coat represented by 2 shades of yellow. The mantle is the thickest layer of the earth. So, make sure you have 2 thick layers consisting of 2 shades of yellow, then stick them on the dough ball that you have made.
Roll out the dough, then wrap it around the orange ball until it's completely covered. Repeat the same procedure for the second yellow layer
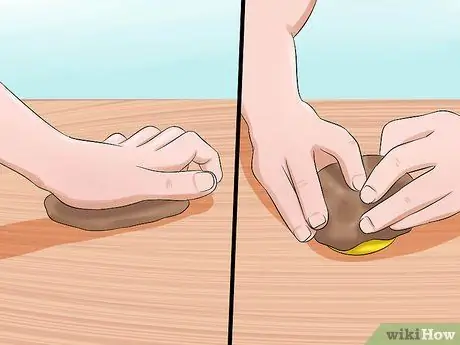
Step 6. Next, flatten the chocolate ball and stick it on the dough ball
The chocolate dough will be used as the crust layer. By far, the crust is the thinnest layer of the earth. Roll out the chocolate dough until it is quite thin, then apply it thoroughly to the dough ball as you did with the previous layer.
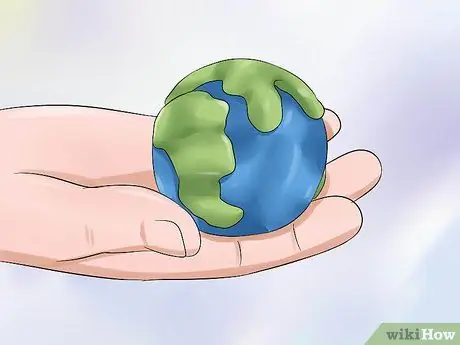
Step 7. Now, you can paste the “oceans” and continents
As before, flatten the blue ball into a thin sheet and tape it around the dough ball. This layer is the last layer to be added to the model. Oceans and continents are technically part of the crust and therefore cannot be considered as separate layers.
Finally, the shape of the green dough layer follows the size of the existing continents. Paste it on the ocean layer where it should be like on a globe
Step 8. Cut the ball in half using dental floss
Place the ball on the table, then position the dental floss along the center line of the ball. Imagine where the equator is and place dental floss there. Pull the dental floss to cut the dough ball in half.
Both pieces will show the cross section of the earth layer clearly
Step 9. Label each layer
Make small labels for each layer by sticking a piece of paper on the end of a toothpick (like a small flag). Use tape to secure the paper. Prepare 5 labels: Crust, Upper Mantle, Bottom Mantle, Outer Core, and Inner Core. Stick the label on the appropriate layer.
Since you have two slices of earth, use one of them to show the exposed and labeled layers of the earth, while the other with the ocean and continents you can place face up to show the “view from above”
Step 10. Give interesting details about each layer
Look up facts about the composition and thickness of each layer. You can also add information about the existing density and temperature. Write a short report or infographic to complement your 3D model and explain the differences in each layer of the earth.
- The layers of the earth's crust are unique because they consist of two types: oceans and continents. This fact can be seen by looking at the model and seeing that the crust consists of oceans and continents.
- The mantle represents about 84% of the total volume of the Earth. The mantle is mostly solid, but has the property of a viscous liquid. Movements within the mantle determine the movement of tectonic plates.
- The outer core is liquid and consists of 80% iron. The outer core rotates faster than the planets rotate and is believed to contribute to the existence of Earth's magnetic field.
- The inner core is also composed mostly of iron and nickel, but there are heavier elements such as gold, platinum, and silver. The inner core is solid because of the very high pressure.
Method 2 of 3: Making a Paper Model of Earth
Step 1. Prepare all the necessary materials
Making an earth model with paper is in principle the same as a clay model. The difference is that the layers of the earth are made using construction paper circles of different sizes. To make this 2D earth model, you will need 5 sheets of cardboard of different colors (brown, orange, red, blue, and white), a compass, or circle pattern of 5 different sizes, glue, scissors, and a large piece of cardboard.
- The final result of a 2D earth model from this paper depends on the size you want.
- You can draw circles easily and get perfect results using a compass. In addition, long positions can be easily changed to produce different sizes.
- If you don't have a compass, you can find 5 round objects and use them to make patterns for each layer of the earth.
- Use textured paper to make your model stand out more.
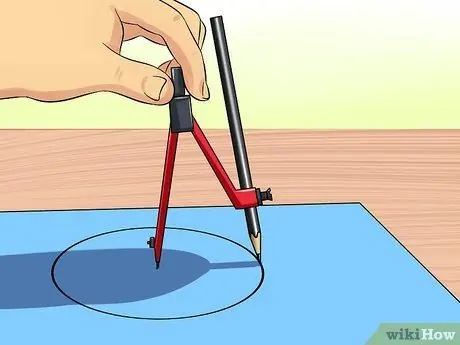
Step 2. Draw 5 circles for each layer
Make 5 circles of different sizes and colors using construction paper. Use white paper for the inner core, blue paper for the outer core, orange paper for the top coat, red paper for the bottom coat, and brown paper for the crust. Use the compass or pattern that you have made according to the following measurements:
- For the inner core, make a circle with a diameter of 5 cm
- For the outer core, make a circle with a diameter of 10 cm
- For the undercoat, make a circle with a diameter of 18 cm
- For the top coat, make a circle with a diameter of 20 cm
- For the crust, make a circle with a diameter of 22 cm
- This diameter is just a suggestion, you can make circles as you like as long as you make the mantle the thickest layer and the crust the thinnest layer.
Step 3. Cut each layer and stack them
After drawing the circles, take the scissors and carefully cut each circle. Try cutting the circle as close to the line as possible to get the perfect circle. Arrange the layers from the largest circle to the smallest size. Circles must be arranged concentrically.
- First, place a brown circle at the very bottom, then place a red circle on it representing the upper mantle, next an orange circle as the lower mantle, followed by a blue circle for the outer core, and finally a white circle as the inner core.
- Use glue to attach each layer.
Step 4. Label each layer
Glue the five layers of earth on top of the larger cardboard. Make 5 labels and paste them next to the appropriate layers: Crust, Upper Mantle, Lower Mantle, Outer Core, Inner Core. You can add interesting facts about each layer. Also include information about the composition of the layers, the average temperature, and the specific characteristics of each layer.
Try to present interesting facts in possible discussions in class
Method 3 of 3: Creating a Styrofoam Model
Step 1. Prepare all the materials needed
This method uses a styrofoam ball to represent the earth and you will cut out a quarter of it so you can display the various layers within the “earth”. To make this model, you will need a large Styrofoam ball (15-17 cm in diameter), pencil, ruler, long serrated knife, acrylic paint (green, blue, yellow, red, orange, and brown), brush, 4 toothpicks, masking tape, and small sheets of paper. You need parental supervision/assistance when cutting Styrofoam to make balls.
All materials can be easily obtained at home or purchased at a local craft store
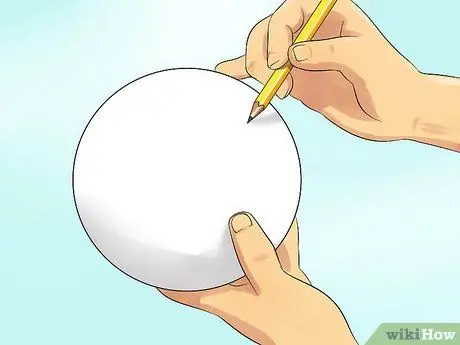
Step 2. Draw a circle around the center point of the ball horizontally and vertically
You will be cutting about a quarter of the styrofoam ball. For that, you have to draw a boundary between the northern and southern hemispheres, then the boundary between the eastern and western hemispheres. Don't worry if the location isn't exactly in the center, but try to get closer.
- Place the ruler horizontally at a point around the center of the ball.
- Place the pencil on top of the ruler.
- Ask a friend to rotate the ball horizontally while you hold the pencil. Notice the line that forms around the center of the ball.
- When the ball returns to its starting position, rotate the ball vertically.
- After drawing both lines, you will get two lines that intersect and divide the ball into four equal parts.
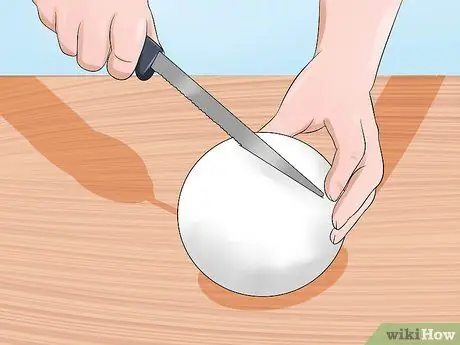
Step 3. Cut a quarter of the ball
The two lines you make will divide the ball into four parts. Now, you will cut one of those parts with a knife. Supervision of people is needed for this step.
- Rotate the ball so that one of the lines is facing up.
- Place the knife on the line and move it back and forth slowly like a saw until you reach the center of the ball (horizontally).
- Turn the ball back so that the horizontal line is facing up.
- Cut the ball in a sawing motion until you reach the center of the ball.
- Shake the cut quarters until they come off the ball.
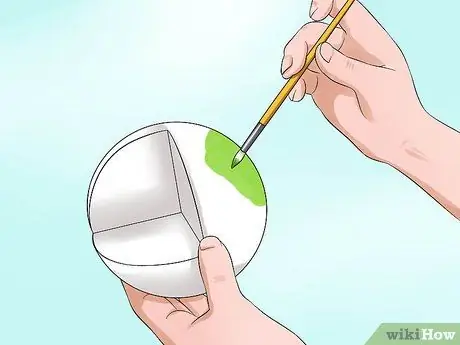
Step 4. Use paint to paint the seas and continents on the outside of the sphere
Before painting the inner layers, draw the ocean and continents on the outside like a globe. Sketch the continent with a pencil then paint it green. Then, use blue paint and color the areas outside the continents to represent the oceans.
- You can throw away the cut quarters if you don't want to use them.
- Wait for the paint on the outside to dry before you start painting the inside.
Step 5. Draw the layers of the earth
Use a pencil to sketch the layers inside the cut quarters. The inner core will be indicated by a small circle right in the middle of the sphere. The inner core is the next layer and should be about a quarter the thickness of the ball. The next layer is the upper and lower mantle which will occupy almost all the remaining space. The crust is a thin line that is drawn right around the edges.
- After you have sketched all the lines, color them with paints of various colors.
- Use yellow for the inner core, orange for the outer core, 2 shades of red for the mantle (each for the top and bottom mantle), and brown for the crust.
Step 6. Make a label for each layer with a toothpick
Make a small paper label and stick it to the end of the toothpick. Use tape to hold it in place (like a small flag). Label each piece according to the appropriate layer. Insert a toothpick into the styrofoam ball so that all the parts have the correct label.


