- Author Jason Gerald gerald@how-what-advice.com.
- Public 2024-01-19 22:11.
- Last modified 2025-01-23 12:04.
This article describes how to build an elevator that can be used in the game Minecraft. While it's possible to build lifts using materials in the advanced Survival mode, most players in this game do it in Creative mode. The elevator template used in this article can be applied to computer, Pocket Edition, or console versions of Minecraft (including Nintendo Switch).
Step
Part 1 of 3: Making the Base of the Elevator
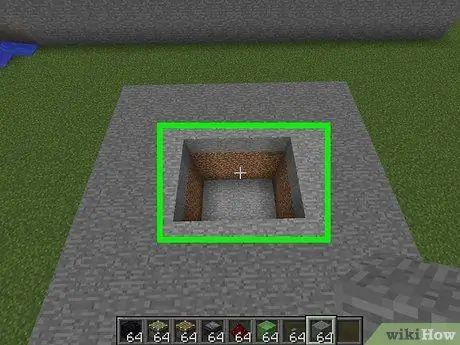
Step 1. Create the foundation
Make a hole 4 blocks wide, 3 blocks long, and 4 blocks deep. Make sure this hole is made under the area to place the lift.
For example, if you want to build a foundation in the basement, dig a hole at the bottom of the basement
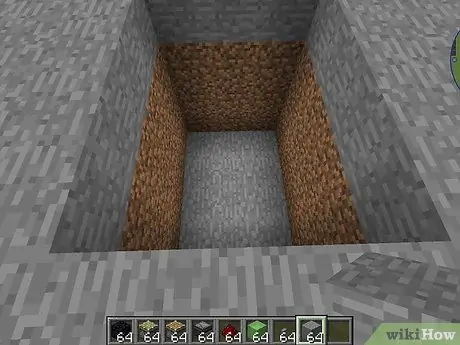
Step 2. Face the wide side of the hole (there are 3 blocks)
It doesn't matter which side of the foundation you are facing.
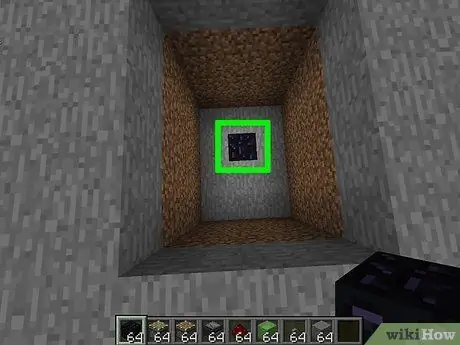
Step 3. Replace the center block on the second floor row with obsidian
This means, the first floor row that comes out of the 3 block wide wall doesn't contain obsidian, but the next row will contain obsidian blocks instead of soil, stone, and other materials.
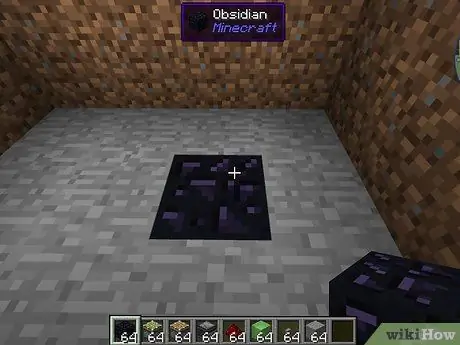
Step 4. Change your position
Now, you must stand behind the obsidian block, then face the side 4 blocks wide. Make sure the short part of the foundation is on the right and the long side on the left.
This is so important that you must stand in the right position before continuing
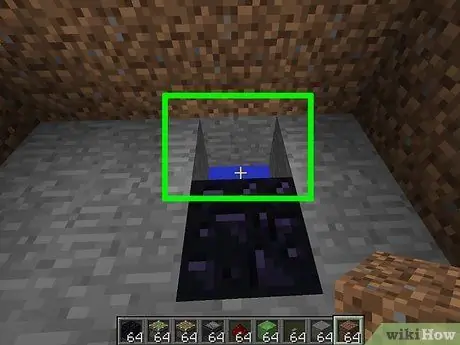
Step 5. Remove the block between the obsidian block and the wall
You will have a hole 1 block deep at the bottom of the foundation.
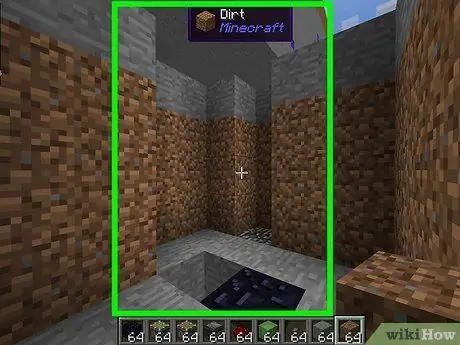
Step 6. Remove one block each around the foundation
Now the foundation will be five blocks wide, four blocks long, and four blocks deep.
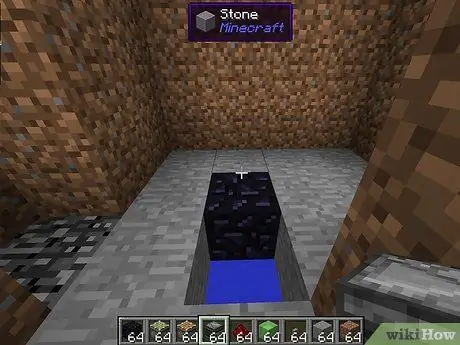
Step 7. Change your position again
Now face obsidian with the short end of the foundation on the left, and the long end on the right.
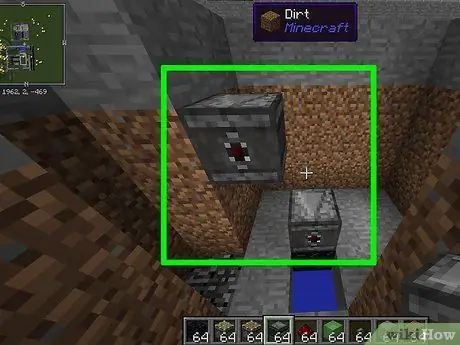
Step 8. Add observer block
On top of obsidian, place 1 observer face up. After that, add 1 observer block facing up, 2 blocks up and 2 blocks to the left.
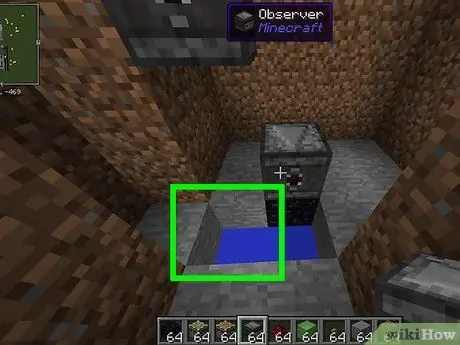
Step 9. Remove the block that touches the lower left corner of the obsidian
You will now have a trench 2 blocks wide, with a depth of 1 block between you and the obsidian block.
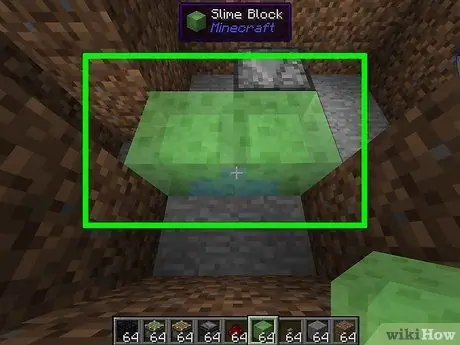
Step 10. Place the slime blocks
The slime block will be above (not in) the trench.
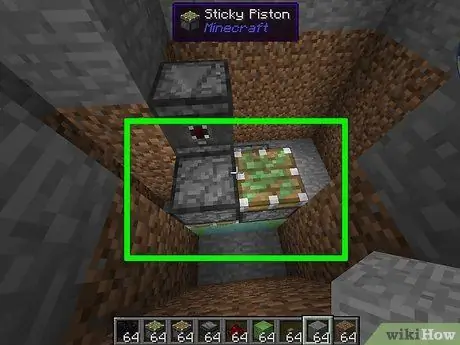
Step 11. Place the sticky piston
Place the sticky piston facing up on the far right slime block and the sticky piston facing down on the far left slime block.
You may need to make a temporary hole at a right angle to make it easier for you to install the sticky piston facing down
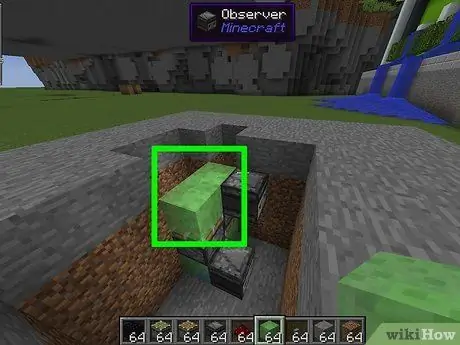
Step 12. Place a block of slime on top of each sticky piston
It serves as the base of the elevator floor.
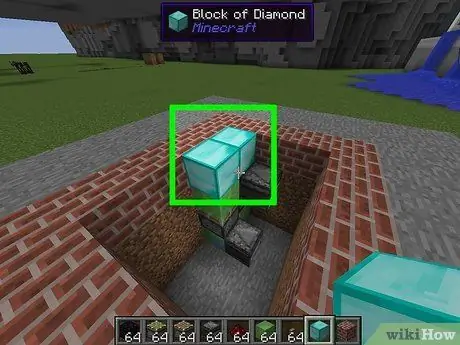
Step 13. Create an elevator floor
Place the blocks you like (preferably using stones) on top of each slime block. Now you have the equipment that will serve as the moving parts of the elevator.
Part 2 of 3: Making the Elevator Button
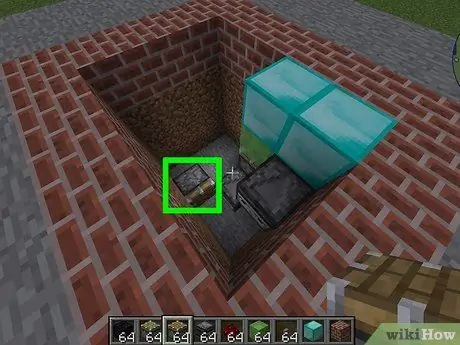
Step 1. Install the regular piston
Face a wall that is 3 blocks wide so the observer block is on the right, then place the piston on the floor block in front of you. The piston should be facing you and touching the corner of the observer block, which will leave an empty space in front of the observer block.
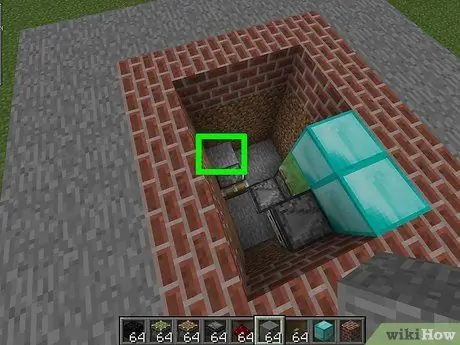
Step 2. Place the stone block behind the piston
This block should be directly behind the piston, leaving a row of space between the block and the rear wall.
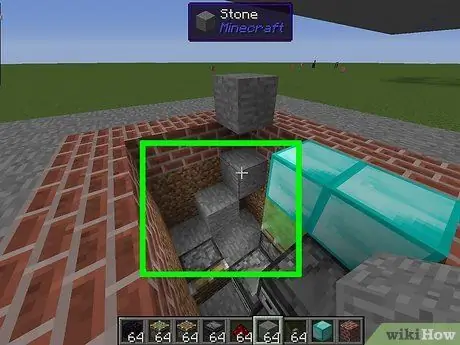
Step 3. Make a stone building with a "staircase" shape
Place 1 stone block on top and another block behind the piston, then place another stone block on top and another to the right of it. You will now have a series of blocks of 3 stones that form a ladder behind the piston.
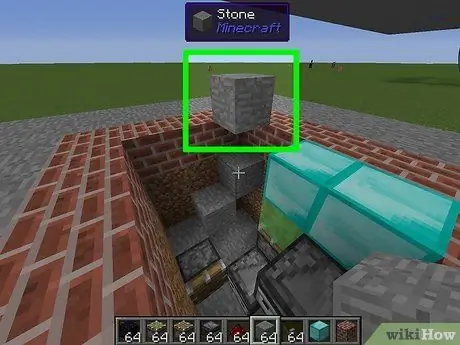
Step 4. Add a stone block on top of the top ladder block at a level parallel to the ground
This means that you have to place a block on top of the top block of stairs, place a stone block on top of it, then remove the first block you placed.
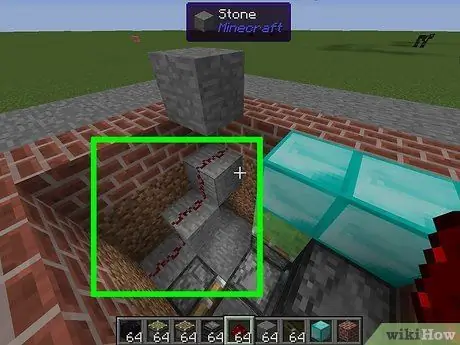
Step 5. Add redstone dust to the stairs
Select the redstone dust in the inventory, then select all the falling stone blocks.
Just leave the pumice block you placed in the last step empty
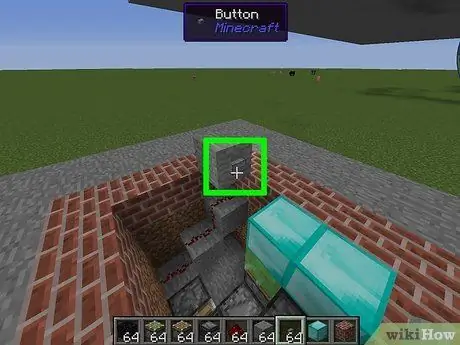
Step 6. Install the button on the pumice block
The button should be placed on the side of the stone block facing the elevator floor.
Never press the button at this point as it can send the floor and bottom of the lift flying up into the sky and disappearing forever
Part 3 of 3: Making the Top of the Lift
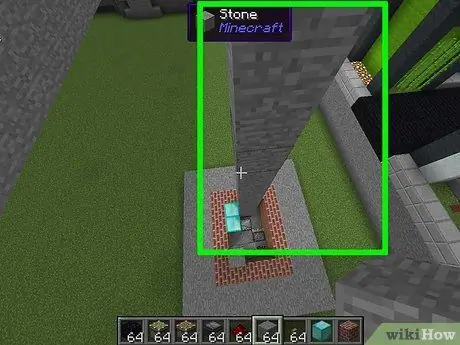
Step 1. Create a placeholder column above the top observer block
Place a column of blocks 1 block wide above the top observer.
The placeholder must be the same height as the block you want to use as the highest place the lift can reach
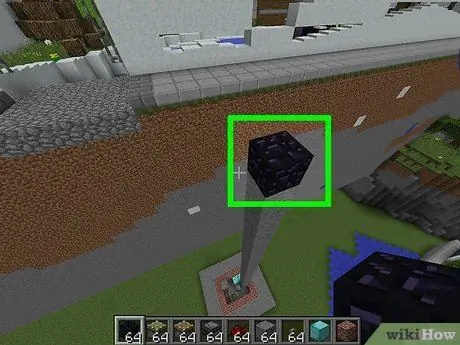
Step 2. Place 1 obsidian block at the top of the placeholder
This block will stop the elevator from moving upwards.
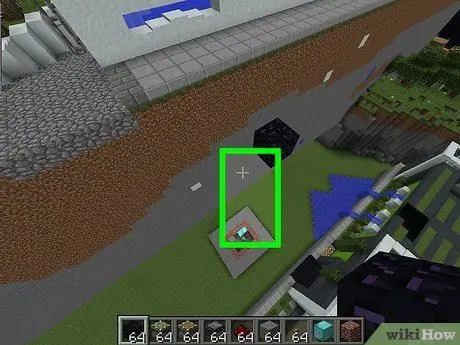
Step 3. Remove the placeholders
Get rid of all the blocks that are in the placeholder column, but leave the obsidian blocks where they are.
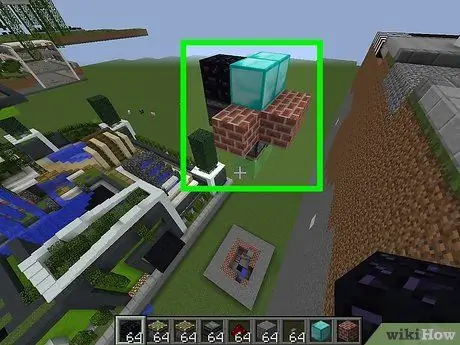
Step 4. Activate the elevator
Do this by selecting the button next to the elevator floor. The elevator will move up until it hits the obsidian block.
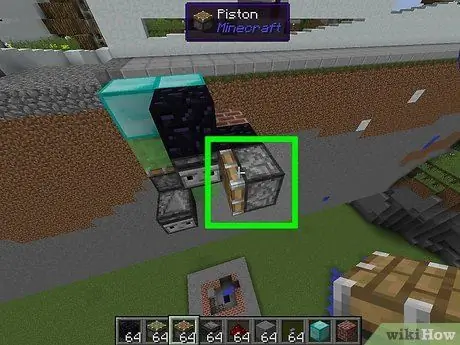
Step 5. Add another piston
To do this, face the floor closest to the obsidian block, place the placeholder to the right of the observer block under the obsidian, then place the piston on the placeholder block facing the left.
With the observer block facing you, the piston will face to the left
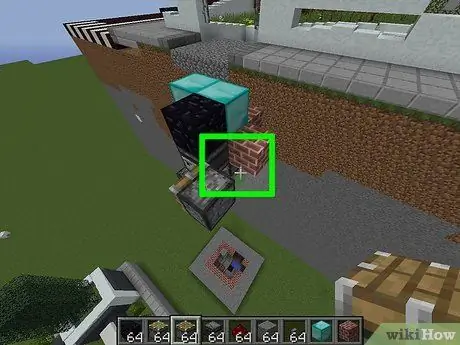
Step 6. Remove the placeholder block
You will now have a floating piston facing left.
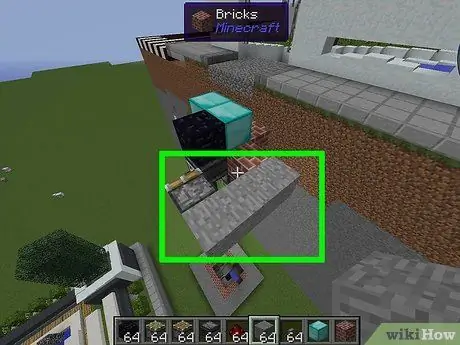
Step 7. Place a row of blocks containing 3 stones behind the piston
Place the first block behind the piston, the second block to the right of the first block, and the third block to the right of the second block.
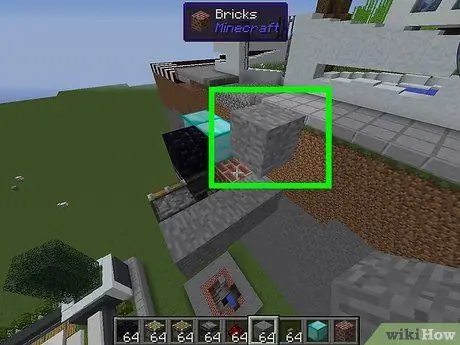
Step 8. Place the pumice block on top of the third stone block
Place a block on top of the rightmost stone block in the row, place 1 stone above it, and remove the first block you placed in this step.
At this point, when facing the back of the piston, there will be a row of 3 stone blocks with one pumice block above the rightmost block in the row
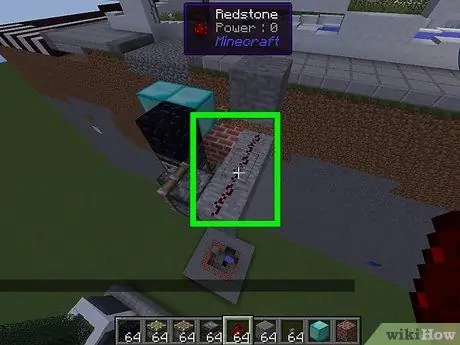
Step 9. Place the redstone in the column containing the three blocks
You will get a line of redstone dust three blocks long.
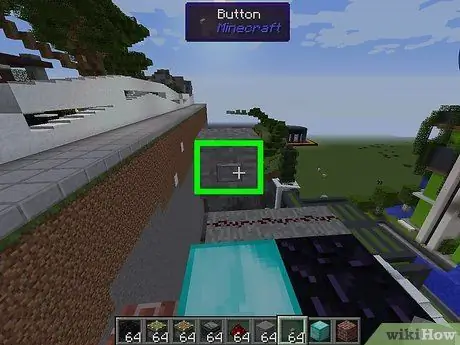
Step 10. Add a " Down " button for the lift
This button should be placed on the side of the pumice block facing the elevator floor. Now your elevator will be fully functional and will move up and down if you press a button.
You can decorate the elevator with walls, doors and more
Tips
- It's much easier for you to build a house by building an elevator first, rather than adding an elevator in a ready-made house.
- Try building another lift and a platform connecting the two lifts so that there is always an elevator moving up and down.


