- Author Jason Gerald gerald@how-what-advice.com.
- Public 2023-12-16 10:50.
- Last modified 2025-01-23 12:04.
Instead of going to the studio, why don't you try shooting at home? You can shoot with a personal touch, while saving hundreds of thousands of rupiah. With a camera, a window, and a few items at home, anyone can create a professional-looking photo shoot.
Step
Part 1 of 4: Background
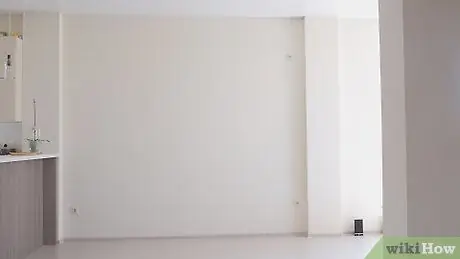
Step 1. Choose your "studio" location
Look for white walls. Choose a room with adequate natural light. If you don't have white walls, or if your walls are filled with photos, hang white cloth from the ceiling until the ends hang down to the floor. This fabric will be a plain studio-style canvas for a photo shoot.
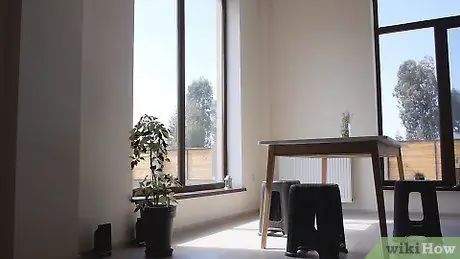
Step 2. Open the curtains and let the sun shine into the room
Lighting is the single most important element when you want to create a professional-looking shot. And natural light will help produce the best effect.
- Plan to start shooting when the sun will still be shining in the room for the next few hours. That way, you don't have to rush when shooting.
- If the sunlight that illuminates the room seems too bright, spread it out with light white curtains or light white cloth. That way, you'll get a smoother effect and reduce harsh shadows.
- Even on cloudy days, the sun can still provide enough light for shooting.
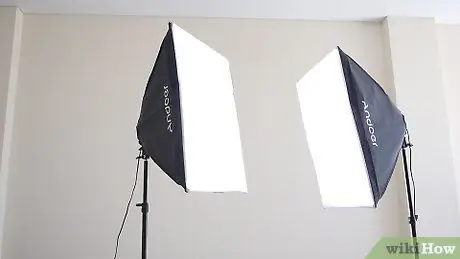
Step 3. Look for a lamp with a hood
For example, table lamps usually have a funnel-shaped hood, so you can focus the light on a certain area.
You can also buy studio lights that are commonly used by artists and photographers, for exactly this purpose. They are inexpensive and can be found at hardware or photography stores. If you plan to hold your photo shoot at home more than once, this studio light will be a worthwhile investment
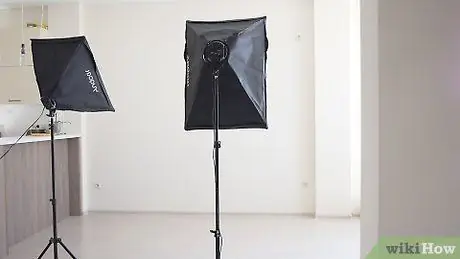
Step 4. Create a professional environmental light
Use existing lamps to illuminate the room with soft light and eliminate shadows.
- One of the lights should be pointed at the ceiling to create a warm feel on the white walls/screen. The light will gently illuminate the subject from above.
- Use another lamp as a fill lamp. Place it at the back of the room at a sufficient distance from the subject, so as not to cast shadows.
- Both types of lighting can be combined with diffused natural light. A variety of light sources provide the optimal backdrop for professional-looking shots.
- Do not use a lamp that is on the ceiling, as it will create harsh shadows on the subject.
- You can use an umbrella, a piece of cloth, or other material to scatter or filter the light.
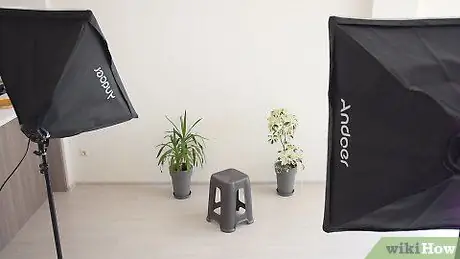
Step 5. Collect some good properties
Maybe you just need a simple wooden chair to pose for your subject, or maybe you want a fun theme for a photo shoot. Collect the items you need and arrange them attractively in front of the white wall/screen.
Part 2 of 4: The Model
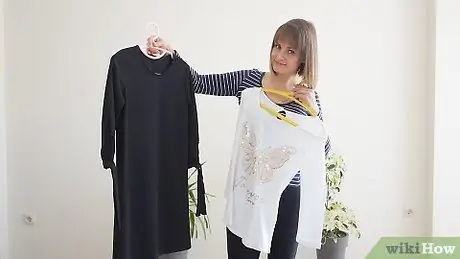
Step 1. Decide what kind of appearance you want
Whether you're hiring someone to model or you're taking pictures of your own family members, think first about what kind of clothes the model should wear. Is this a stylish shoot, or a casual one? You need to remember, people will look much better in photos when they are comfortable with what they are wearing.
- Consider asking the model to take a photo in a variety of outfits. For example, if you are taking a photo of your daughter's graduation, you might want to take a picture of her in her graduation costume, favorite outfit, and basketball uniform. Collect properties that match each style.
- Hair and makeup are also important components when it comes to professional results. Remember, the makeup in the photo will not be as good as it looks on the person in person. So suggest the model wear a lighter shade of lipstick, or apply more tan than usual.
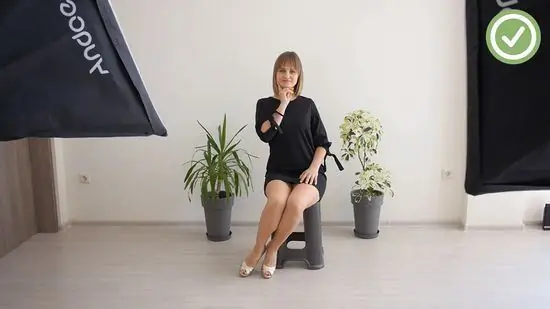
Step 2. Ask the model to practice posing before the shoot begins
Before starting the shoot, prepare the model by describing the results you want. Maybe you want a traditional portrait-style pose, with the model smiling and looking directly at the camera. Or maybe you want to capture the model's personality, her smile, or her brooding style. Either way, the shoot will go much smoother if the model knows what she has to do
Part 3 of 4: Photoshoot
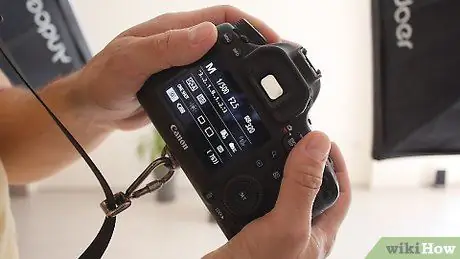
Step 1. Prepare the camera
Whether you are using a digital camera or a manual camera, make sure you have set the settings before starting shooting. Also take into account the lighting and the result you want to create.
- Most digital cameras have an automatic setting. Generally, this setting is sufficient. But make sure the flash is disabled. You've set adequate exposure, so you don't need the flash anymore.
- Set a tripod or a flat surface in place. Make sure everything is set at the right angle to produce professional-looking photos.
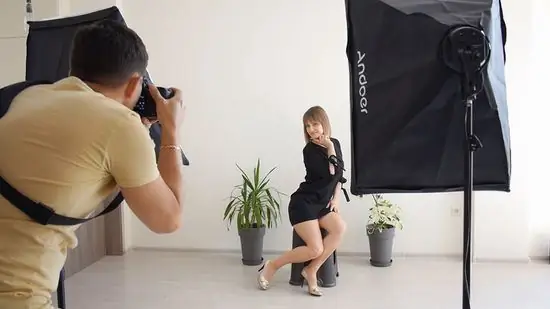
Step 2. Start taking photos
Ask the model to try different poses, and try a few different creative approaches. Shoot with the camera mounted on a tripod or placed on a flat surface. Also, try shooting while holding the camera in your hand. If you are using a digital camera, you can also experiment with some of the settings.
Take more photos than necessary. You've gone to great lengths to set up this shot, and you definitely want to make sure you're going to get a great shot. The more photos to choose from, the better
Part 4 of 4: Photos
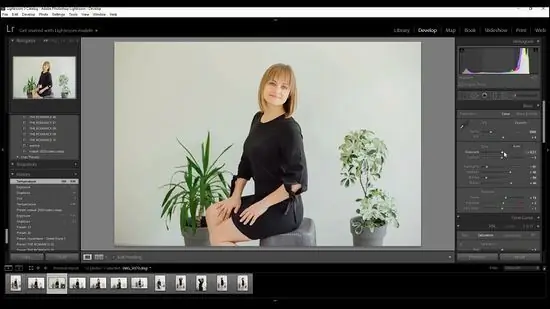
Step 1. Edit the photo
Upload the resulting photo to your computer and use photo editing software to crop it, apply interesting Filters, change the contrast level, etc.
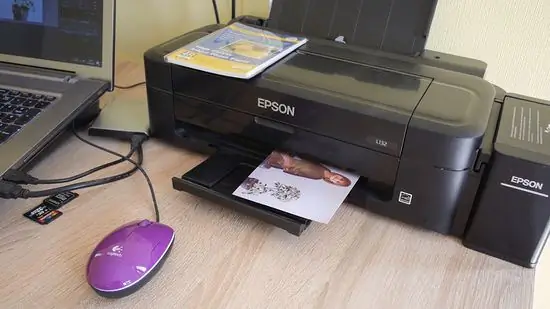
Step 2. Print your photo on glossy paper
If you have a printer at home, you can buy quality photo paper and print photos from your computer. For professional results, you can print the photos in the print lab.
If you are shooting using a film camera, take your film to a print lab for processing
Tips
- Try taking a self-portrait using the self-timer function on your camera. Sit on a bench or chair in your “studio,” and pose.
- A lighting rule that applies both outdoors and indoors: the key is to reduce shadows and create an atmosphere with soft light. Umbrellas and other light spreaders come in handy when you are shooting outdoors.
- Experiment with different backgrounds. Try using patterned fabrics or colored fabrics for different results.
What You'll Need
- Camera
- Tripod, or a flat surface at the height of a tripod
- Wall or white cloth
- Several kinds of lights


