- Author Jason Gerald [email protected].
- Public 2023-12-16 10:50.
- Last modified 2025-01-23 12:04.
Perforated plastic may seem difficult to repair. Fortunately, there are several ways to repair cracked plastic. A mixture of super glue and baking soda can be used to patch small holes. Large holes can be filled with melted plastic or epoxy. By following the guide below, you can easily patch plastic holes!
Step
Method 1 of 3: Using Super Glue and Baking Soda
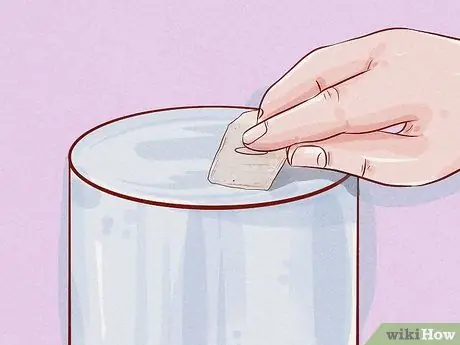
Step 1. Glue the cardboard to the back of the hole
Use cardboard that is sturdy enough and easy to remove. Attach the cardboard with tape or tongs. Attaching cardboard to the back of the hole can prevent leakage.
If the cardboard doesn't fit snugly, for example when the hole is in the inside of the plastic, you can still try this method. However, the cardboard may not stick firmly
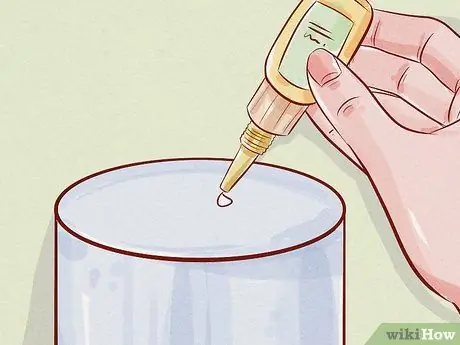
Step 2. Apply 3-4 drops of super glue on the hole
Apply a few drops of superglue to the hole until it pools. The pasted cardboard will allow the super glue to dry more evenly on the bottom of the hole. Super glue dries quickly, so work before it dries.
Wear plastic gloves to prevent superglue from sticking to your skin
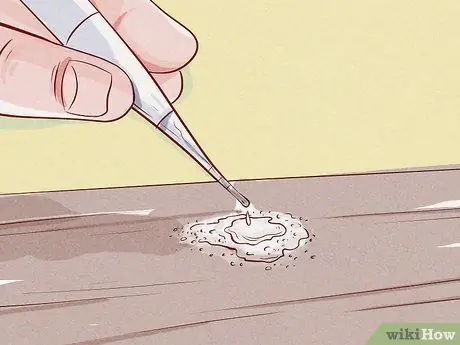
Step 3. Sprinkle baking soda over the super glue and press down
Press the baking soda and superglue with your fingers or a flat surface. Superglue is quite thin, but when combined with baking soda, the glue will thicken and will have a cement-like consistency.
Sawdust or chalk can also be used
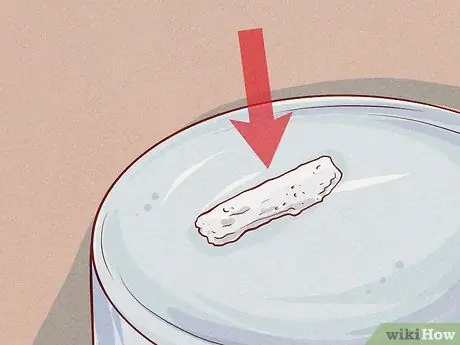
Step 4. Continue to add superglue and baking soda in layers
Continue adding the baking soda and superglue in layers until it is full and flush with the surface of the hole. When the hole is full, add another layer of superglue and baking soda to make it stronger.
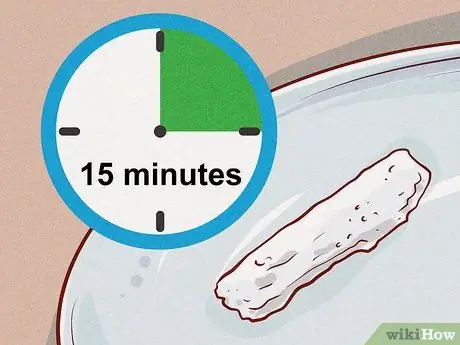
Step 5. Let it dry for 15 minutes
When the super glue and baking soda dry, the glue will harden and turn a whitish color. Although it looks less attractive, glue can patch holes quite effectively. Once completely dry, the cardboard can be removed.
You can mix food coloring with baking soda to mimic the color of the plastic
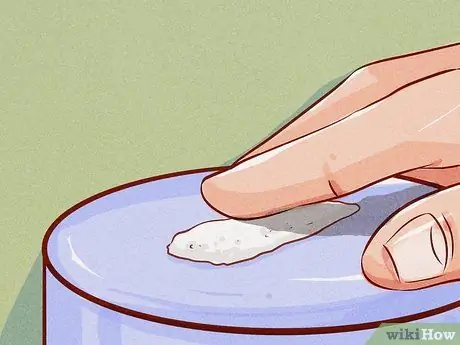
Step 6. Smooth the surface of the patch
Gently smooth the surface of the patch back and forth. Press the patch surface constantly. Fine wood or metal sandpaper is a good option.
Wear a face mask to prevent inhalation of plastic particles
Method 2 of 3: Melting Plastic Welding for Patching Small Holes
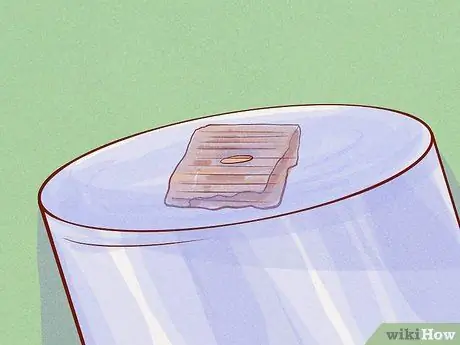
Step 1. Glue the cardboard to the back of the hole
Tape the cardboard with tape or tongs to prevent leakage. Make sure the cardboard is firmly attached. Cardboard is a good option because it is easy to remove.
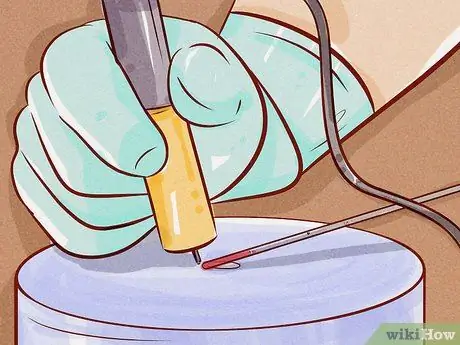
Step 2. Melt the plastic weld with solder on the hole
Hold the plastic weld 1 cm above the hole. Use solder on the weld tip until it melts into the hole. Once the holes are filled, turn off the solder and allow the plastic to harden.
- Keep your hands and fingers away from the soldering tip so they don't burn.
- Look for plastic welds of a similar color.
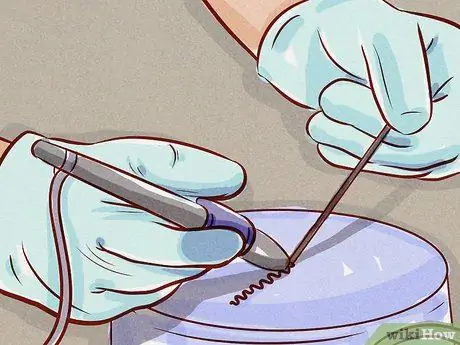
Step 3. Wrap the plastic weld in a spiral to fill the large hole
Heat the plastic welding tip with a soldering iron. Start gluing the plastic weld spirally into the hole until it sticks to the cardboard. Continue to apply plastic welding in layers until it is flush with the surface of the hole.
Hold the solder 1 cm from the end of the plastic weld. The weld should soften and not melt completely
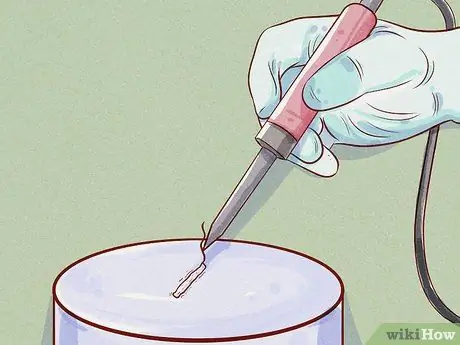
Step 4. Use solder to smooth and level the patch surface
Once the hole is completely filled, use a soldering iron to cut the end of the plastic weld. Smooth the surface of the patch with solder to smooth it and flatten it.
Make sure there are no indentations in the patch as this can reduce its effectiveness
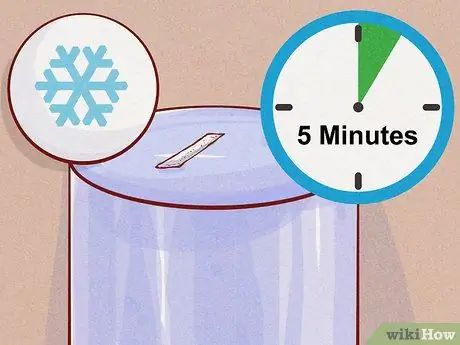
Step 5. Allow the patch to cool before smoothing
The plastic patch will harden after a few minutes. Once hard enough, smooth the patch with sandpaper to make it more even and neat.
- To remove sandpaper marks on the patch surface, hold the solder over the patch surface to smooth it out.
- Cut off the patches that are too large with a small knife.
Method 3 of 3: Patching Big Holes with Epoxy
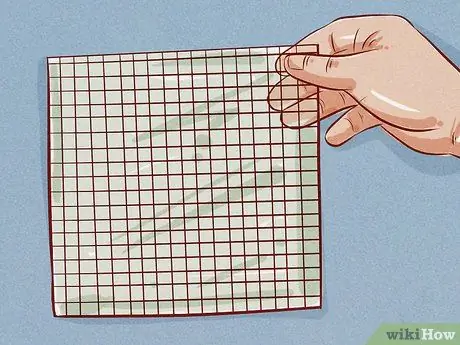
Step 1. Prepare 2 pieces of fiberglass that are 15 cm larger than the hole
Make sure the glass fiber used is slightly larger than the hole so that the entire hole is completely covered. This glass fiber can be used as an area for applying epoxy to the perforated plastic part.
You can buy fiberglass at a hardware store or online
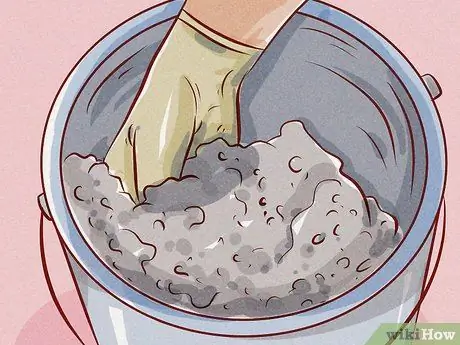
Step 2. Mix the epoxy in the bucket
Use a stick to stir the epoxy in a bucket or bowl. A two-part epoxy contains a resin and an activator which must be stirred until combined. Once mixed, the epoxy will feel thick and mushy.
- Wear disposable gloves when touching the epoxy. Epoxy can cause skin irritation.
- Place cardboard or cloth under the plastic in case the epoxy drips through the glass fibers.
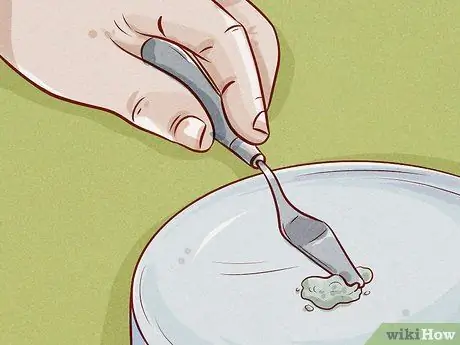
Step 3. Apply epoxy to one side of the hole with a putty knife
Cover the area around the hole with epoxy. Make sure the epoxy coat covers the hole evenly so it can dry quickly. The epoxy layer must be thick enough for the glass fibers to stick together. However, make sure the epoxy layer is not too thick.
The epoxy layer should not be too small so that all parts of the glass fiber can stick to the plastic
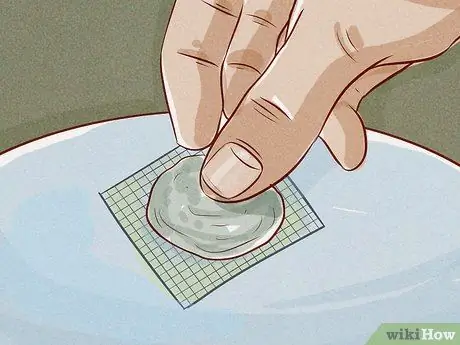
Step 4. Press the fiberglass onto the epoxy, making sure the hole is in the center
Press the fiberglass onto the epoxy coating and make sure the hole is in the center. The excess glass fiber around the hole will ensure that the hole is completely covered. In addition, it will also make the plastic to epoxy transition smoother.
Glass fiber is quite flexible and can follow the shape of plastic
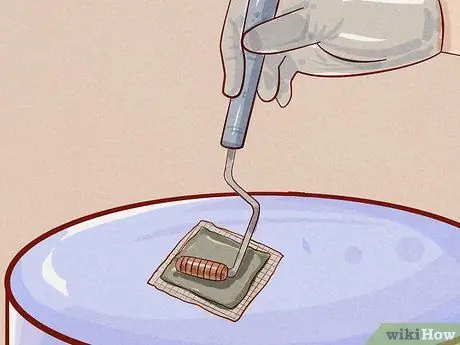
Step 5. Apply the epoxy over the fiberglass
When applying the epoxy, apply it over the fiberglass portion covering the plastic opening. Make sure the epoxy coating can hide the glass fibers underneath. However, make sure the epoxy doesn't clump. Preferably, the epoxy layer should be as parallel as possible to the surrounding plastic surface.
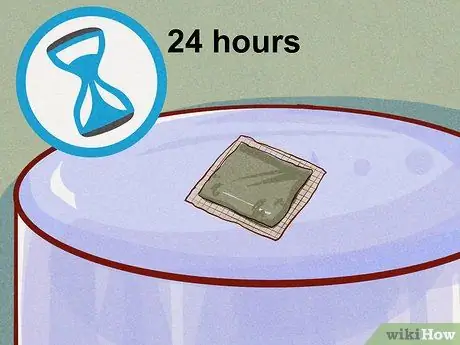
Step 6. Allow the epoxy to dry for 24 hours
Allow the epoxy to dry on one side of the plastic before removing the plastic. When it dries, the epoxy will harden and turn into a solid layer. The epoxy will dry and harden for 24 hours. In humid weather, the epoxy may take longer to dry.
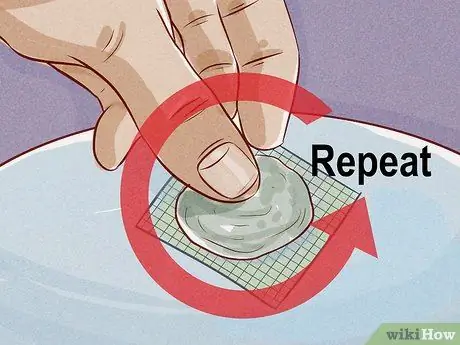
Step 7. Repeat this process on the other side of the hole
Once one side of the epoxy and fiberglass has dried and hardened, apply the epoxy on the other side of the hole and then stick the fiberglass over it. Apply the epoxy over the fiberglass and let it harden for 24 hours.
This process can be repeated again by adding more glass fibers. This can make the plastic stronger and more durable
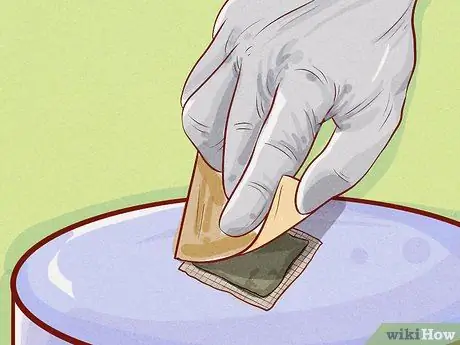
Step 8. Sand the epoxy until smooth
Once both sides of the epoxy are dry, you can use sandpaper to smooth it out so that it is level with the plastic surface. Wear a mask when sanding the epoxy so you don't inhale the dust.
Epoxy can be painted to match the color of the plastic
Warning
- Be careful when using welding and soldering so you don't hurt your skin.
- Wear disposable gloves when using superglue or epoxy to prevent skin irritation.
- When sanding plastic, wear a mask or work in a well-ventilated area. This is done so that plastic or epoxy chips are not inhaled.


