- Author Jason Gerald gerald@how-what-advice.com.
- Public 2023-12-16 10:50.
- Last modified 2025-06-01 06:05.
Turning your favorite photos into pop-up photos is a fun and relatively easy activity. Make photos of your family, pets, and best friends or even your imaginary images pop-up using cutouts from magazines or pictures. You can easily turn ordinary photo sheets into 3D masterpieces using pop-out tabs or stands.
Step
Method 1 of 1: Method 1: Using Pop-Out Tabs
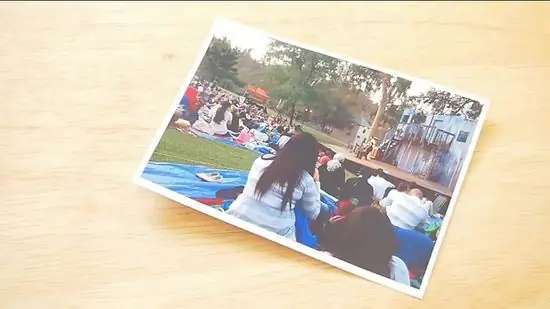
Step 1. Choose a photo that has a background or a landscape image
The image doesn't have to be the focus (because it's the object that's created into a pop-up that's going to catch the eye later), so at least choose a very plain or simple background image. Streets, parks, or natural backgrounds (forests, trees, etc.) are good choices.
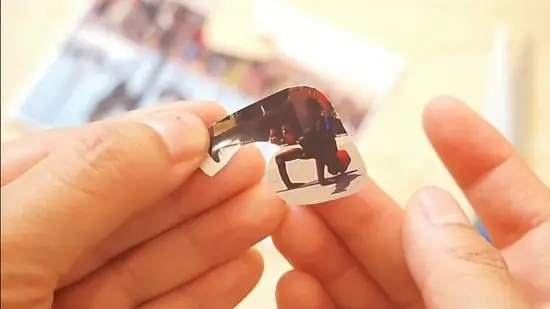
Step 2. Cut out the object to be made into a pop-up from your photo
As much as possible, cut close to the edge of the object according to its shape without cutting the object
- Think about the size of your background. Is the object you cut the right size (is it too big or too small)?
- You can make multiple copies of the same photo (bringing a “normal” photo to life with dimensions) or create from different photos, playing with the contrast between the background and the subject that will pop-up.
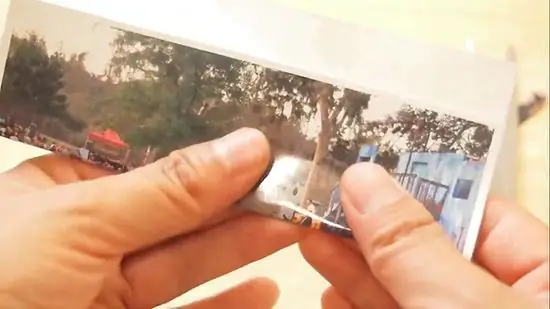
Step 3. Fold the photo that will be used as the background in half
The photo must be on the inside. Press the fold to flatten it and let the photo remain folded.
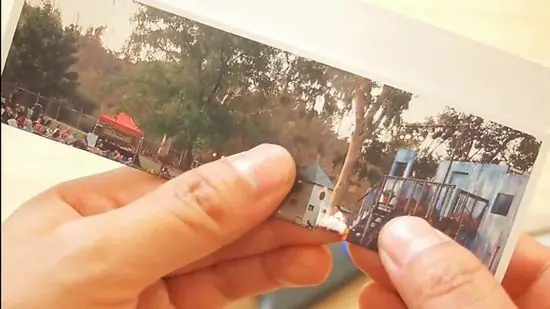
Step 4. Create two parallel cut lines of the same length on the folded part of the background photo
Position the piece behind the object to be attached later. Depending on the size of the object, you can make cuts that are about 1.3 to 2.5 cm apart from each other. The longer the cut, the further away the object is from the background.
-
Create another two cut lines for any additional objects you want to add to the background.
- Before you cut, remember that you will be pasting a pop-up object in front of the area you are cutting. So, the cut must not be longer than the object's height and the width between the cut lines that you make must not be wider than your object.
- The closer the cutouts you make, the smaller the tabs will be and the better the results - that way, the background photo can still be seen from any angle.
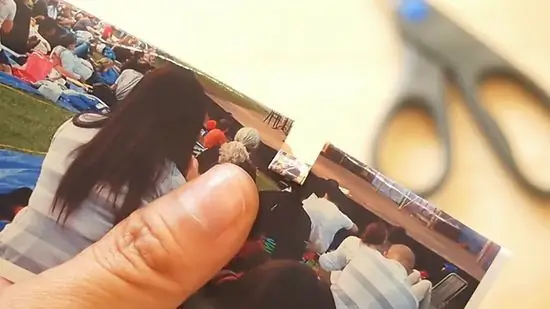
Step 5. Fold the tab (the area between the two cut lines) back and forth, and press until the crease is even
The folds you make between your vertical cuts should be horizontal. Fold forward and backward. Return the tab to its original position.
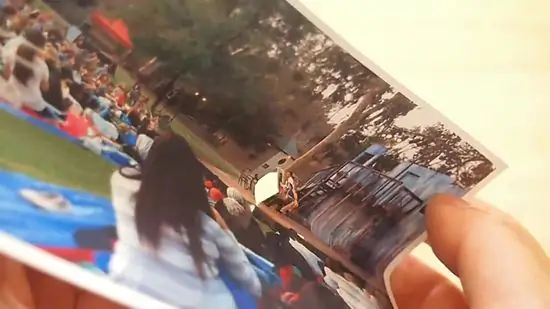
Step 6. Open the folded photo by 90 degrees
The “floor” or the bottom of the photo must be horizontal, and the “backdrop” or the back of the photo must be vertical. Use your finger to push each tab forward toward the center of the photo, creating a pop-up box.
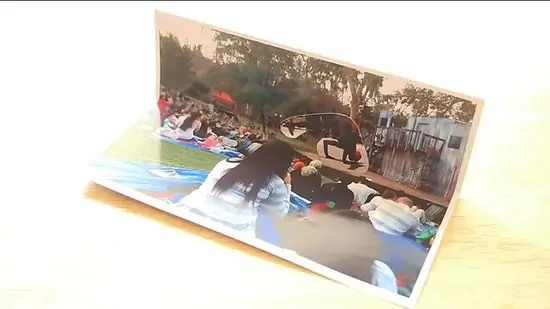
Step 7. Paste your photo object in front of each pop-up box to create a pop-up effect
Use stick glue (instead of white glue) to prevent too much glue from sticking and to keep things tidy. Voila! Now, where do you want to put your photo?
If you don't have glue, a transparent adhesive can also be used. Make sure the adhesive is glued evenly and is not visible from any angle
=== Method 2: Using the Stand ===
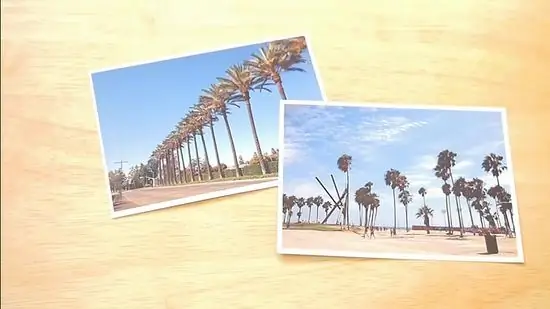
Step 1. Select two photos
The two photos don't have to be exact. All you need is “one landscape photo” and “one photo with subject” (Or two). If you want to get a photo of a dinosaur crashing into your kitchen, you can of course come up with a cool photo. The weirder the combinations you make, the less emphasis will be placed on the pop-out object. So if you want to make your friends react, “Wow! 3D photos!”, make sure the two photos you choose have the same theme.
- Make sure the photo object is smaller than the selected scene background. Of course there will be problems if the T-Rex image is 20 cm high and your kitchen photo is only 4x6. Resizing photos is very easy to do.
- The subject of the photo must be selected intact. Just showing the torso part of the T-Rex in your kitchen (perhaps the T-Rex is trying to open a storage cupboard?) makes no sense. Choose a complete picture as the subject, complete from the top to the bottom.
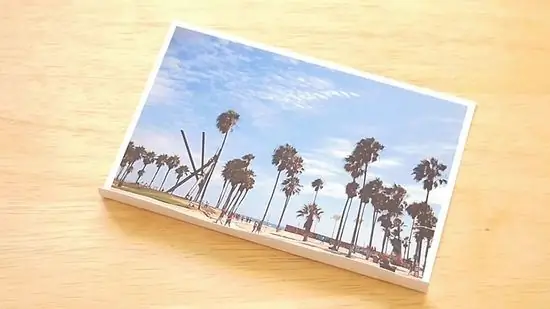
Step 2. Fold the background photo
For an 8x10 photo, fold it about 5 cm from the bottom in a forward folding direction, keeping the side of the image straight. For smaller or larger photos, fold them to the appropriate size. Your photo should now be able to stand.
The side of the fold you make will be where the subject of your photo will stand. That way all the elements will be in the photo, not just in front of the photo
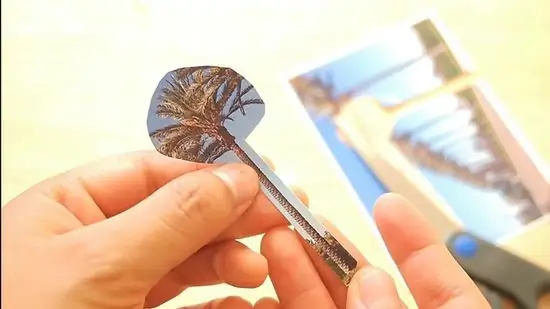
Step 3. Cut out the subject of the photo
The fewer small cuts you make the better. So if you have a simple image, great. Cut as close to the edges of the object as possible.
If you have more than one object, make sure they are the right size
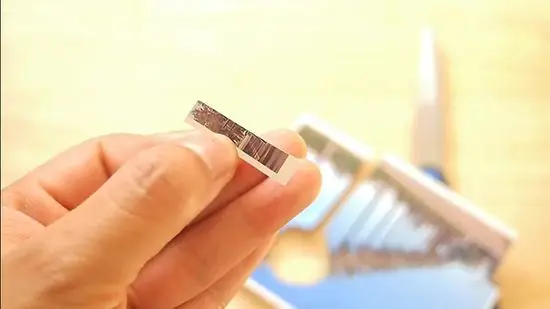
Step 4. Make one (or two) supports
Take a piece of photo paper (photo paper is thicker than regular paper) and cut out small pieces 1.25 cm wide and 20.32 cm long. Each pop-out subject requires 1 stand - so if you have 2 subjects, cut two.
Just like before, this proportion is intended for 8x10 photo objects. If the subject of your photo is larger or smaller, you will need to cut the supports to a different size
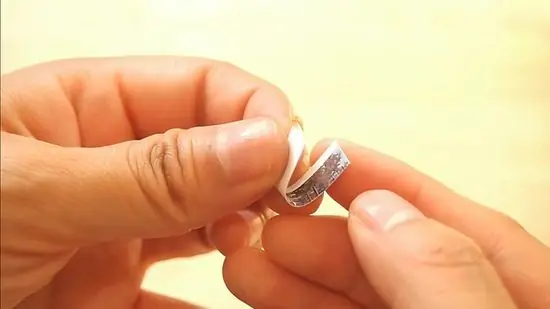
Step 5. Fold the stand
Bend it so that it looks like a geometric “U” shape. Both sides should be 7.5 cm long and the bottom of the letter "U" should be 5 cm.
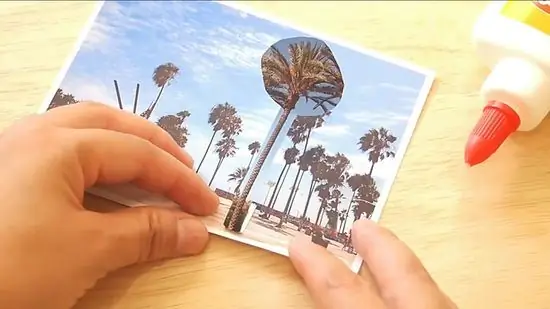
Step 6. Glue the supports
Glue one of the long sections behind the subject of the photo, precisely in the center, so that the subject can stand well. Glue the other long side on the photo background. This distance between the two glued sides will make the subject of your photo stand out.
Repeat the same way for each object you have. If an object doesn't stand up straight, use a small amount of transparent adhesive to fix it
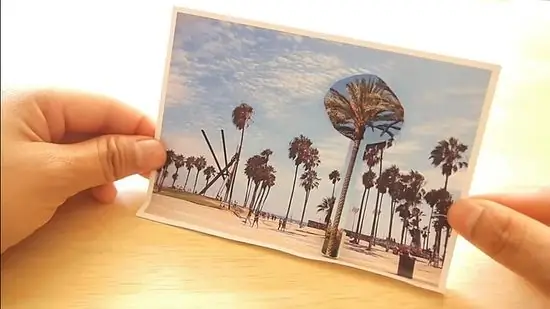
Step 7. Position your photo
Now that you have a cool pop-up photo of your own making, what do you do? The trick you need to do is just position the photo in a place where it can't be seen from the side. Place it wherever you like, but try to stand up from several places in your room to see how the photo looks from certain angles.
A higher photo placement will certainly be better than a low placement. When viewed from below, the photo will appear intact; but when viewed from above, the photo will lose its dimension and layered effect
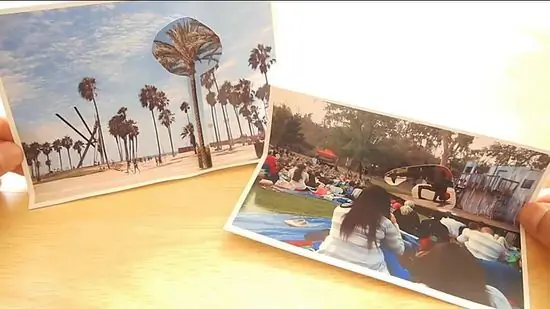
Step 8. Done
Tips
- Print photos on matte paper instead of glossy or glossy paper, to make cutting, folding, and pasting easier.
- Choose a photo object that is in focus and easy to cut.
- Choose a photo background such as a landscape photo or a relatively simple interior.
What You Need
Method 1: Using Pop-Out Tabs
- Multiple photos or copies of the same photo that can be cut out
- Scissors
- Stick glue
Method 2: Using the Stand
- 2 photos (at least)
- Scissors
- Photo paper (to make a stand)
- Stick glue


